PROXIMANOVA-LIGHT.OTF PROXIMANOVA-LIGHTIT.OTF PROXIMANOVA-EXTRABLD.OTF PROXIMANOVA-BOLD.OTFPROXIMANOVA-BLACK.OTF
Get this font in here!
This Article Applies to:
- Avast Business Hub
You can set up Business Hub reports to automatically run on a recurring basis and then be emailed to specified users.
At multi-tenant/partner level, the reports will include all sites/customers by default.
Scheduled reporting for audit logs is currently unavailable (but planned to be added in a future release).
To schedule a report:
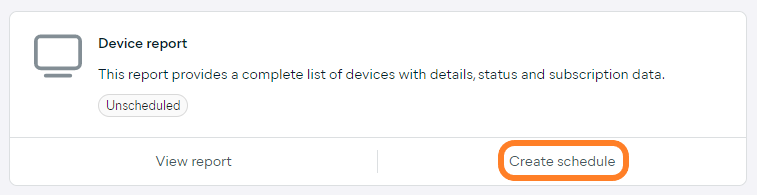
- Open the Reports page
- Click Create schedule under the report type you would like to schedule to open the schedule drawer
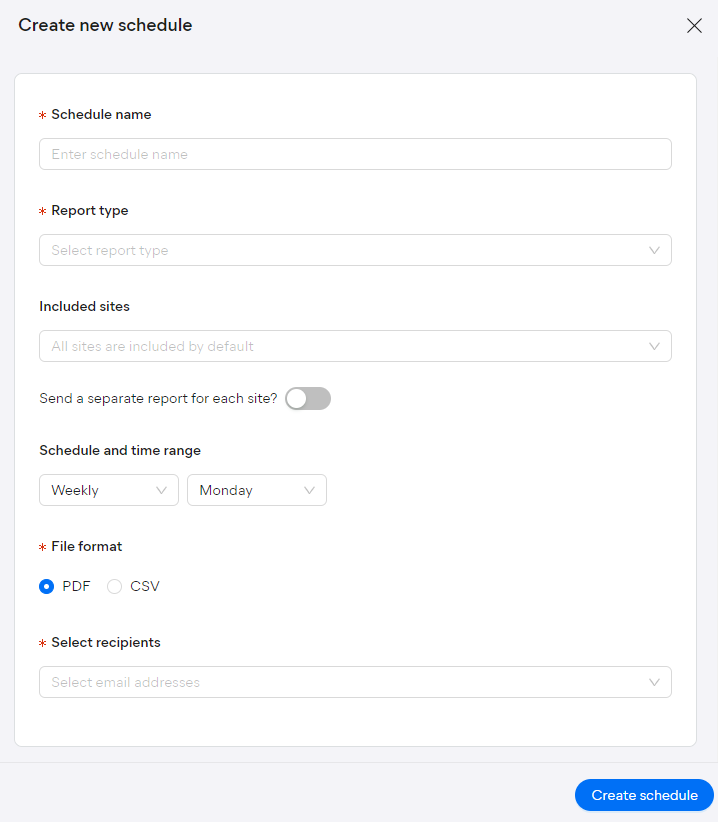
- Enter a custom name for the scheduled report
- Ensure the correct report type you would like to schedule is selected
- If creating a schedule at multi-tenant/partner level, select the sites/customers to be included (all are included by default), and choose whether to have separate reports sent for each site/customer
- Under Schedule and time range, select the desired recurrence:
- Weekly (select the day of the week the report will run)
- Monthly (select the week of the month and the day of the week the report will run)
- Choose between CSV or PDF report format
- CSV format is not available for Executive summary
- Select the email address(es) you would like to send the report to
- Click Create schedule
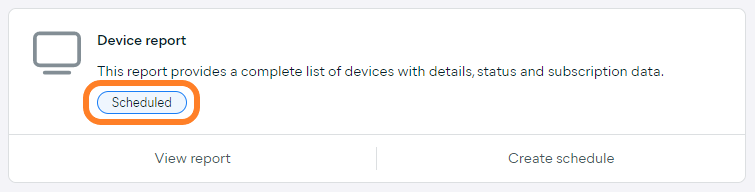
Once a schedule has been created for a report, the report's status on the Reports page will change from Unscheduled to Scheduled.
Managing Created Schedules
To view and manage all created report schedules, click View schedules in the top right corner of the Reports page.
To view a specific report's schedules only, perform the same action from that report's page. Alternatively, you can filter the schedule list by report type.

On the Schedules page that opens, you can see the following information for each report:
- Report name and type
- Number of sites included in the report and information on whether separate reports are sent for each site/customers (for schedules created at multi-tenant/partner level)
- Recipients
- File format
- Schedule configuration
You can filter the list by report type,
From this page, you can also create another schedule for any of the available reports via the + Schedule button in the top right corner (the process is the same as described above).

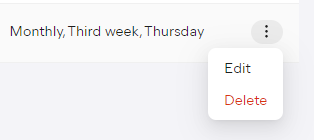
You can edit or delete a schedule via its actions menu (three dots).
If a schedule is deleted, the report will no longer be emailed to any of the previously specified recipients.
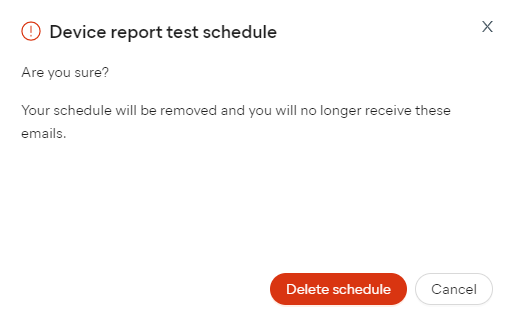
When deleting a schedule, review and confirm your choice by clicking Delete schedule in the pop-up dialog.
Other Articles In This Section:
Related Articles: