PROXIMANOVA-LIGHT.OTF PROXIMANOVA-LIGHTIT.OTF PROXIMANOVA-EXTRABLD.OTF PROXIMANOVA-BOLD.OTFPROXIMANOVA-BLACK.OTF
Get this font in here!
This Article Applies to:
- Avast Business Hub
IMPORTANT: If any devices in your network are running legacy OS (e.g. Windows XP, Vista, 2003, or 2008 SP2) and you attempt remote deployment with those devices included, the deployment will fail for all devices selected. Therefore, please ensure you do not select and attempt deployment to devices with legacy OS installed.
For devices that are not connected to Active Directory, you will need to change restrictions on remote UAC (User Account Control): open Windows Registry Editor and navigate to HKEY_LOCAL_MACHINE\SOFTWARE\Microsoft\Windows\CurrentVersion\Policies\System, then add/edit the DWORD value "LocalAccountTokenFilterPolicy", setting it to 1. For more information, see Microsoft’s article on UAC remote restrictions.
Network Discovery
The Network Discovery feature in the Business Hub enables you to scan your network so you know what devices are connected to it.
This involves two main steps:
- Configuring scan settings
- Scanning the network for devices
The main use is to perform remote deployment across supported devices in the network, but also has an added use for displaying unsupported/possibly rogue devices in the network.
Recommendations for Scanning Agents
Scanning Agents have access to your entire network and can remotely access devices. For security reasons, we recommend following these guidelines:
- Use only one Scanning Agent per network
- Ensure your Scanning Agent is a trusted, non-roaming device with secure access (such as a server)
- Use a device your network administrator has full control over
- If necessary, add exceptions in your network for the scanning agent to avoid triggering network security measures
Recommendations for Scans
When performing network scans, we recommend the following:
- Only scan your private networks
- Follow our recommendations for Scanning Agents (see above)
- Provide adequate time for the scan to complete (a larger network will take longer to scan)
Configuring Scan Settings
When accessing the Network discovery tab for the first time, there will be no data populated and no settings menu to access. You will need to click the Set up your first scan button to begin the configuration.
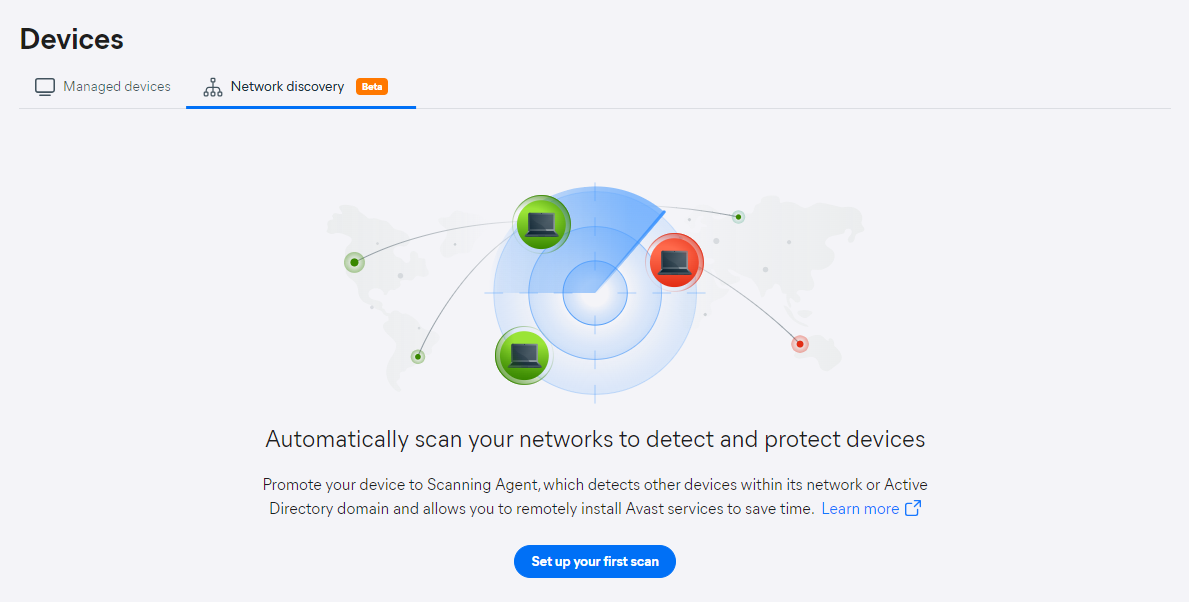
The Network scan settings drawer will open, where you can define:
- which device(s) will have the Scanning Agent role
- which scanning method will be used
- whether old devices will be automatically removed
Scanning Agents
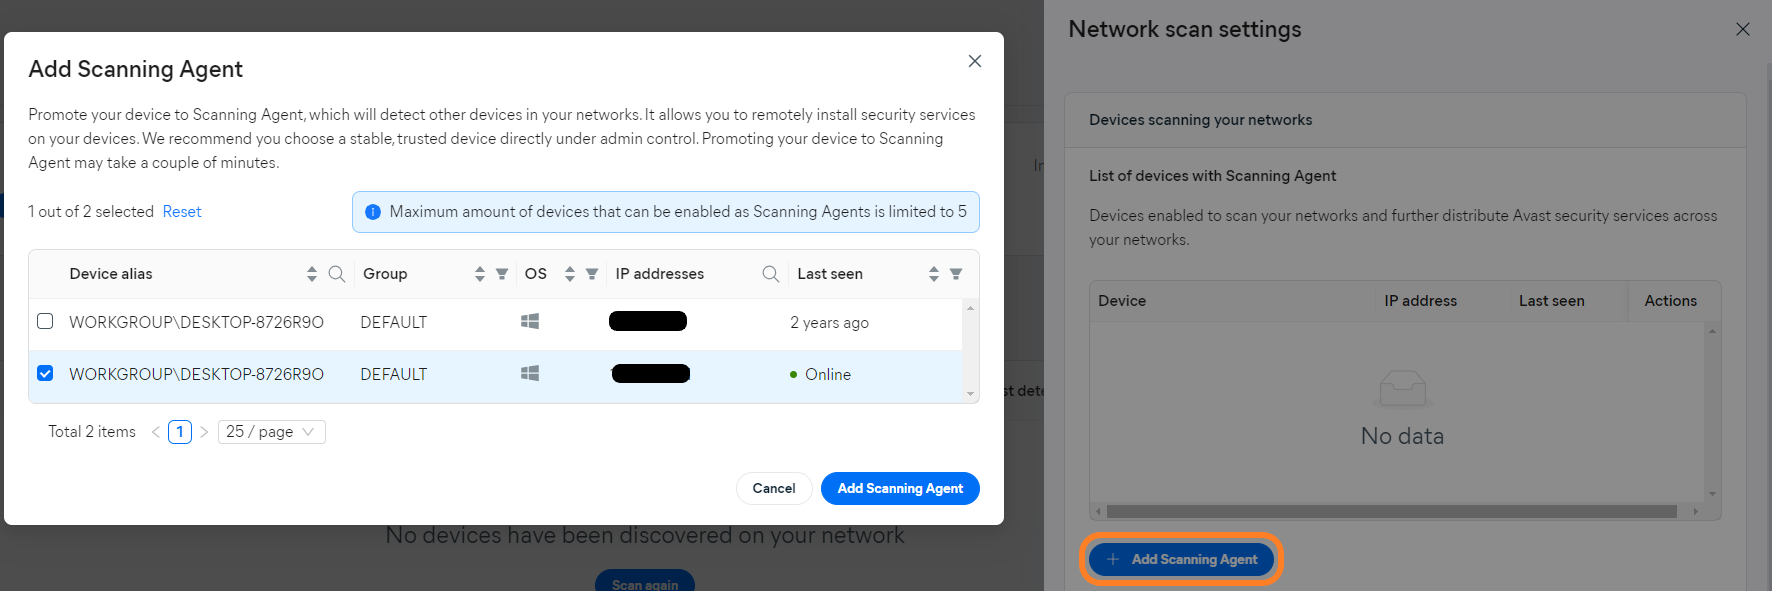
The Scanning Agent is one of two available Master Agent roles, and it is responsible for detecting devices within the network to allow remote installation.
The Scanning Agent role can be assigned to a device using the + Add Scanning Agent option in the Devices scanning your network section of the network scan settings.
Note that only Windows devices can be set as Scanning Agents.
For instructions and more information about Scanning Agents, see Setting Up Master Agents.
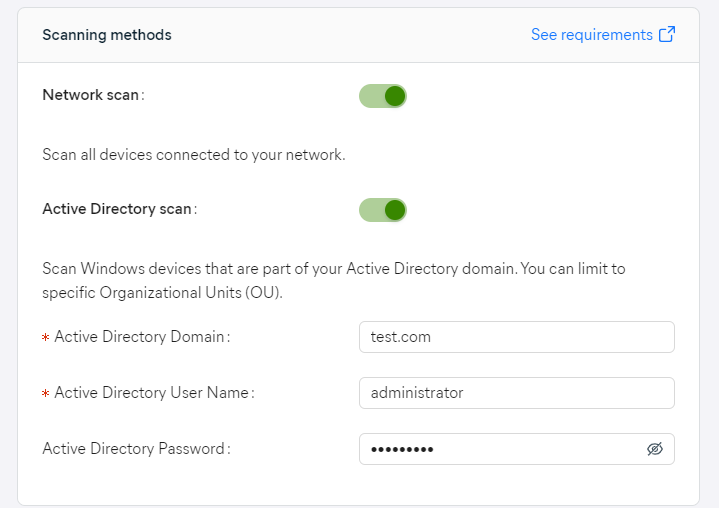
Scanning Methods
There are two available methods for scanning the network:
- Network scan: Scans all available devices in the network in which the device belongs. It can be a workgroup or domain, there are no restrictions (only private IP addresses are scanned). The device detection process uses Address Resolution Protocol (ARP) to ping all IP addresses within the subnet in order to get their MAC address. This process can take up to 15 minutes, possibly longer depending on the network. If a response is received with a MAC address, a reverse DNS lookup occurs to get the host name for the IP.
- Active Directory scan: Connects to Active Directory and scans the available devices in the domain. When enabling this scanning method, you will need to enter the domain, username, and password (domain administrator rights required).
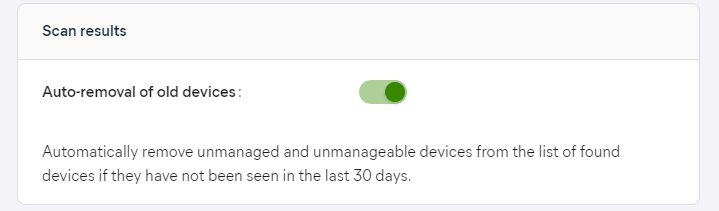
Auto-Removal of Old Devices
In the Scan results section of the settings, you can select whether to automatically remove old devices that are unmanaged/unmanageable if they have not been online in the last 30 days.
Scanning Your Network for Devices
Once you have configured the network scan settings, click the Scan network button at the bottom of the drawer to save your selections and start the first scan.
The progress is displayed in the widget, and detected devices are actively added to the list during the scanning process. The following details are shown for each device:
- Device name
- IP address
- AD group/OU (if applicable)
- Scanning Agent that detected the device
- Last detection time (for exact date and time hover over the entries)
- Device status:
- Unmanaged: The device is not managed by the Hub and meets the System Requirements (available for deployment)
- Unmanageable: The device is not managed by the Hub but does not meet the System Requirements (unsupported OS/device type)
- Managed by Avast: Installation was completed and/or device is already managed by Avast (and will be visible in Managed devices)

If the scan completes successfully, a green check mark will be displayed in the progress widget.
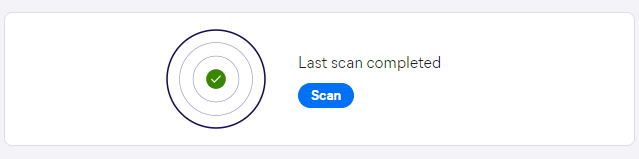
The counter next to the widget will show the total number of discovered unmanaged devices (it will also show the number of installations in progress and that of failed installations once you start deploying services).

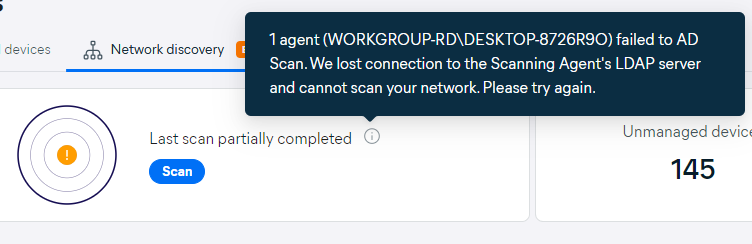
In cases where the scan is only partially completed, an orange exclamation mark will be displayed, and the tooltip in the progress widget will provide more information.
Clicking the Clear scan results option deletes the network scan results immediately (there is no confirmation prompt). Upon successful deletion, the No devices have been discovered on your network yet state will be displayed and a toaster notification confirming that the list of discovered devices has been cleared will pop up at the top of the page.
The list cannot be cleared while a network scan is in progress - the option will be disabled until the scan completes.
Clearing network scan results will be recorded in the
Remote Deployment
Once a network scan has been completed and you have located unmanaged devices, you can remotely install Avast services on them:
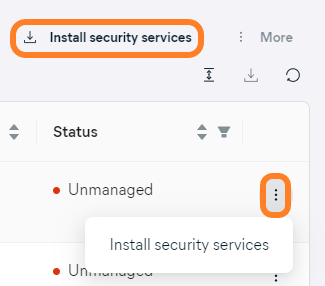
- Do one of the following:
- For a single device, click the actions menu (three dots) next to it, then choose Install security services
- For multiple devices, tick the checkboxes next to them, then click Install security services above the table
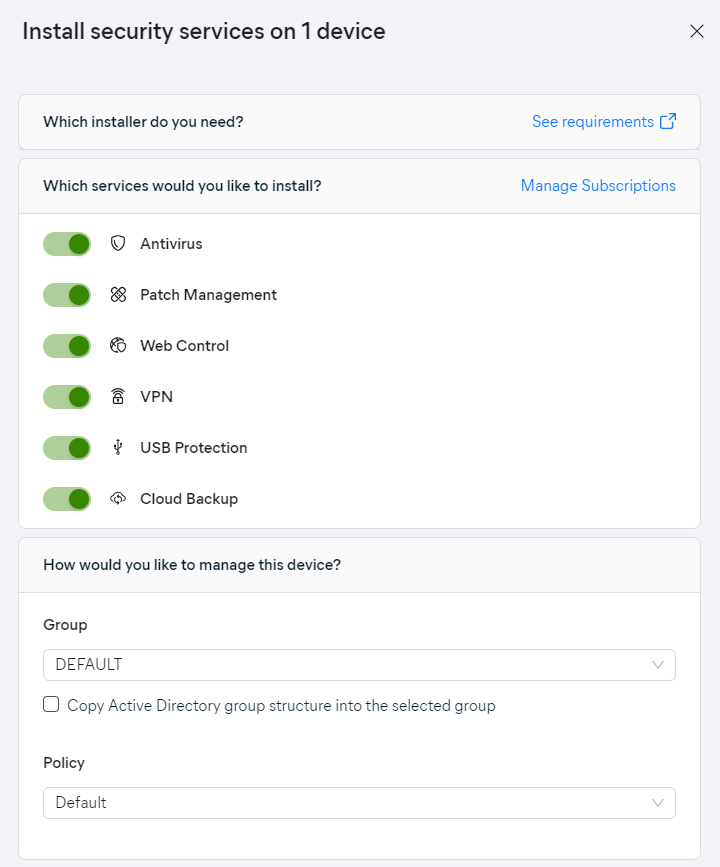
- As with usual deployment, select the services, group, and policy for the device(s)
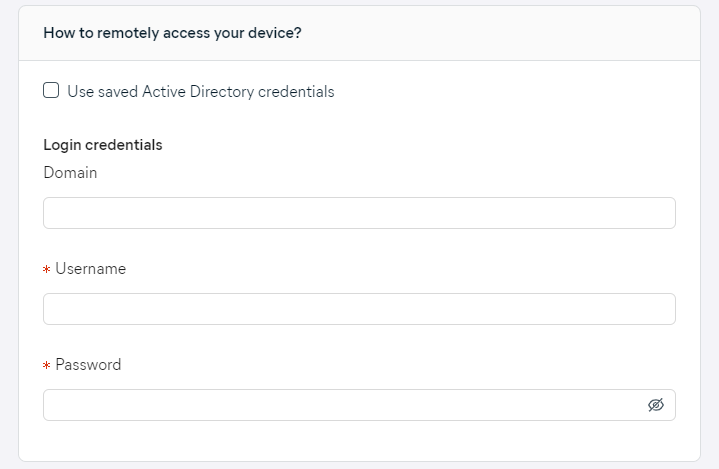
- Enter login credentials (must be administrator credentials) for accessing the device remotely, or tick the checkbox at the top to use saved AD credentials (available when the devices were already scanned via Active Directory)
- Without credentials, remote deployment will fail. Ensure the correct username and password have been entered.
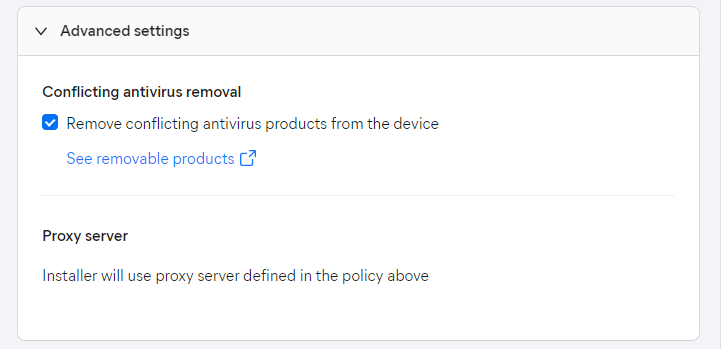
- Select whether to automatically remove conflicting Antivirus products from the device
- Click the Install package remotely button at the bottom of the drawer
Selected devices will first go to the Installation queue, and then to the Installing Avast status.

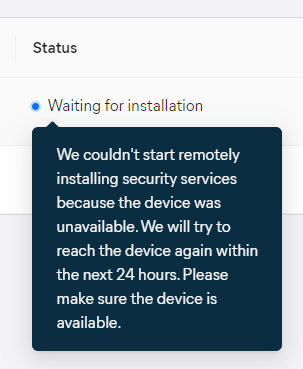
If a device is unavailable, its status will be Waiting for installation, and the tooltip will inform you that installation will be reattempted within 24 hours.
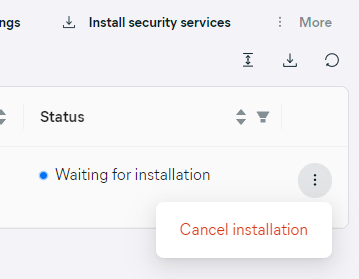
For the devices waiting for installation or those in the installation queue, the installation can be canceled via the More menu (above the list) or the actions menu (three dots). Otherwise, the option will be inaccessible.
While installing, the devices will become visible in the Managed devices tab.

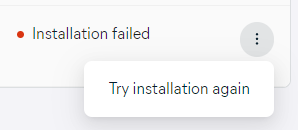
Once the setup completes, the devices will have the Managed by Avast status if the install was successful. If the install was unsuccessful, the Installation failed status will be shown instead, and the tooltip will provide the reason (e.g. device is offline or admin credentials are incorrect).
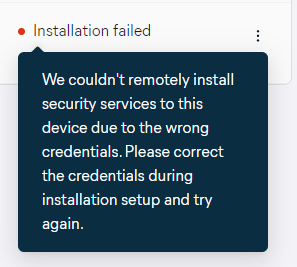
After the issue has been resolved (e.g. device back online/correct admin credentials acquired), you can reattempt the deployment.
FAQ
 Can I cancel Remote Deployment after it’s initiated?
You can still cancel while the device is in the Installation queue status. If deployment has already begun on the end device, it cannot be canceled.
How long will devices stay in the installation queue, and/or will Remote Deployment cancel after a period of time?
Remote Deployment will cancel after 24 hours of being unable to connect to the device. The device will go into Installation failed status, and the tooltip will note the device is offline.
How long should deployment to endpoints take?
Deployment should take less than 5 minutes. The time it takes depends on device specifications and device online status.
Are there any alerts for failed deployments?
No, but they are planned for the future.
Does the Scanning Agent need to have the Antivirus service running to deploy remotely?
No. The Antivirus agent can be deployed without any services, and will be able to remotely deploy any service.
How do I know the scanning has started on the Scanning Agent?
The agent_log.log file will show the scan command has been received.
 Will device details be updated in Network Discovery?
Yes. If MAC/IP addresses are changed, for example, the devices will be updated in the list in the Cloud Console to reflect the changes.
What do the various device statuses mean?
- Unmanaged: The device is not managed by the Hub and meets the System Requirements (available for deployment).
- Unmanageable: The device is not managed by the Hub but does not meet the System Requirements (unsupported OS/device type).
- Installation queue: Device is queued for deployment.
- Installing Avast: Avast services are being installed on the device, device should be visible in the Managed devices tab of the Devices page.
- Managed by Avast: Installation was completed and/or device is already managed by Avast (and will be visible in Managed devices).
- Installation failed: Avast services could not be installed (hold the cursor over the result to see more information).
- Waiting for installation: The device is unavailable, installation will be reattempted within 24 hours.
Other Articles In This Section:
Adding Devices to Business Hub
Removing Devices From Business Hub
Command-Line Installation Parameters
Deploying on Windows Using Group Policy Object
Related Articles: