PROXIMANOVA-LIGHT.OTF PROXIMANOVA-LIGHTIT.OTF PROXIMANOVA-EXTRABLD.OTF PROXIMANOVA-BOLD.OTFPROXIMANOVA-BLACK.OTF
Get this font in here!
This Article Applies to:
- Avast Business Hub
After setting up your Avast account and creating your company profile, you can start adding devices to the
The Business Agent is the endpoint agent deployed in order to manage the devices and the installed services. It is responsible for the communication with the console, deployment of the services, and synchronization of statuses/settings.
To acquire the installer that will run the Business Agent setup on a desired device (and then install any selected services):
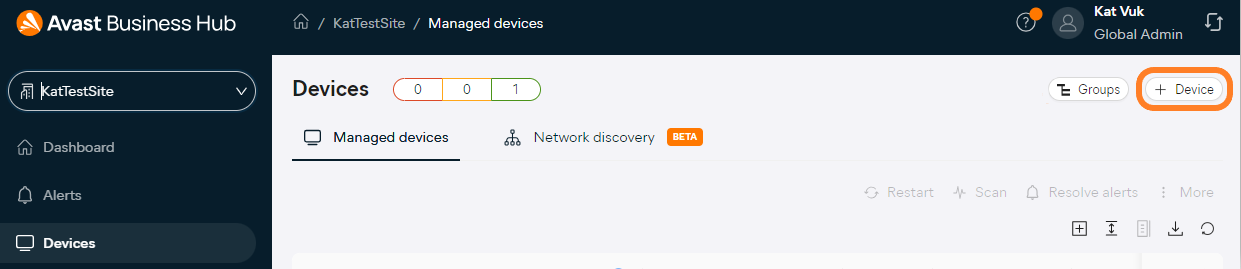
- Open the Devices page, then click + Device in the top right corner
- When doing this from the top-level Devices page (multi-tenant/partner console), you will need to select the site to which you wish to add the device
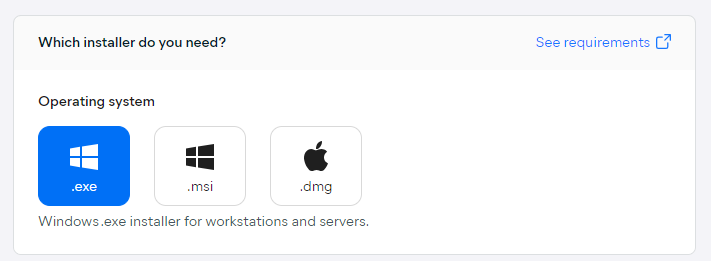
- In the drawer that opens, select the type of installer:
- Windows .exe (for workstations and servers)
- Windows .msi (for deployment using GPO)
- macOS .dmg
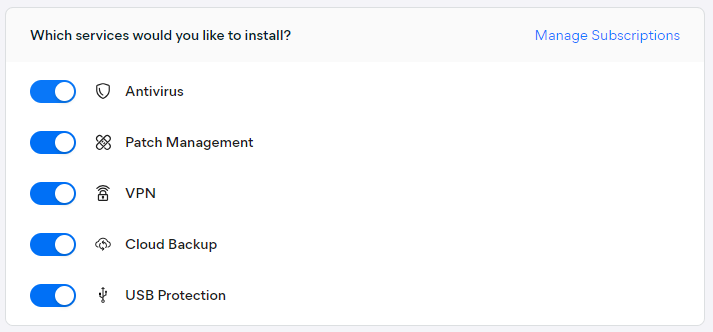
- Using the toggles, select the services you would like to install
- Only activated/purchased services will be listed.
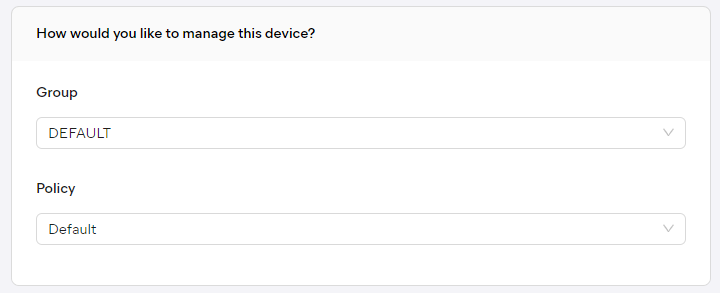
- Choose the group and the policy the device will use
- Within Advanced settings, you can:
- Choose the installer language
- This option is available only for Windows .exe installers.
- Decide whether to add the offline Antivirus installer (Windows packages only)
- Including the whole ~600MB Antivirus package can be useful for deployments in networks with low speeds. However, the devices will still need to download the latest updates post-deployment which will amount to the same size. This option is disabled by default.
- Decide whether to scan for conflicting antivirus products automatically on the device (enabled by default)
- Using this option will automatically scan for conflicting antivirus products. In case a conflicting application is detected, a pop-up window will notify the user, and the user will be prompted to uninstall the application manually. In case multiple applications are detected, all will be listed.
The user can decide not to uninstall conflicting software by clicking the Fix Later button. In such a case, the Avast product will run in the passive mode until conflicting software is removed. - Note that this feature is not available for Windows Server devices.
The user can decide not to uninstall conflicting software by clicking on the “Fix Later” button. In such a case, the Avast product will run in the passive mode until conflicting software is removed.
- Using this option will automatically scan for conflicting antivirus products. In case a conflicting application is detected, a pop-up window will notify the user, and the user will be prompted to uninstall the application manually. In case multiple applications are detected, all will be listed.
- Ensure you have defined the correct proxy server, if any, in the policy you are applying to the device
- Choose the installer language

- Finally, choose how you want to send the installer to the device:
- Install remotely
- Share download link
- Download installer

Choosing the Install remotely option will redirect you to the Network Discovery tab of the Devices page so you can deploy the installer remotely to the desired device (see
Choosing Share download link will open a dialog providing a link to the installer, along with some useful information on how to proceed.
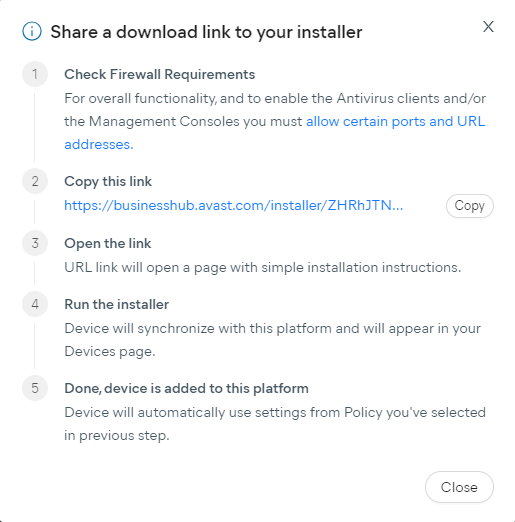
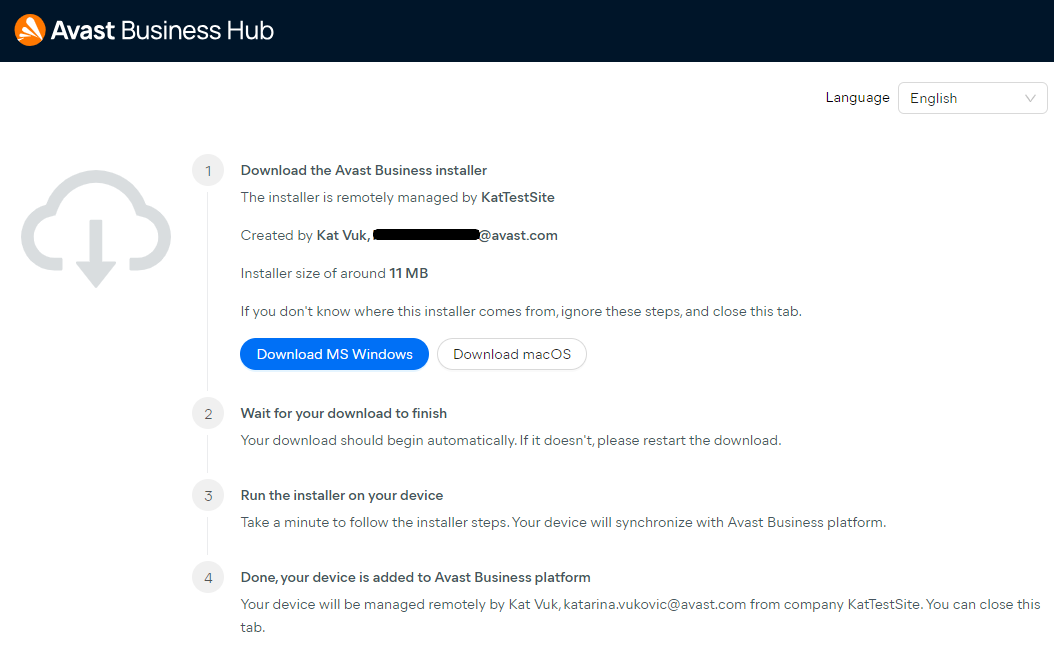
Once you open the link on the device you want to add to the console, follow the provided steps to download and run the installer (if needed, see
By default, the instructions on the page will be in the language used by the console. This can be changed using the drop-down menu in the top right corner of the page.
If you chose the Download installer option, the installer file will be downloaded directly to the device from which you accessed the console. A dialog providing information on how to proceed will be displayed for this method as well (if needed, see
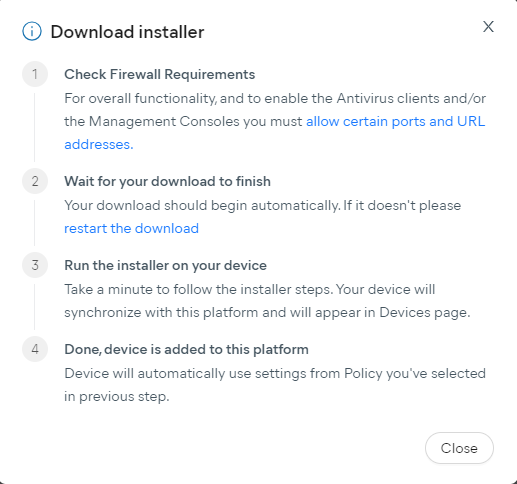
Once the setup has been successfully completed, the device will appear on the Devices page of your console.
Other Articles In This Section:
Removing Devices From Business Hub
Network Discovery and Remote Deployment
Command-Line Installation Parameters
Deploying on Windows Using Group Policy Object
Related Articles: