PROXIMANOVA-LIGHT.OTF PROXIMANOVA-LIGHTIT.OTF PROXIMANOVA-EXTRABLD.OTF PROXIMANOVA-BOLD.OTFPROXIMANOVA-BLACK.OTF
Get this font in here!
This Article Applies to:
- Avast Business CloudCare
IMPORTANT: The CloudCare console does not support opening multiple tabs in the same browser session. Please use multiple browsers or incognito mode instead.
CloudCare's Two-Factor Authentication (2FA) provides an additional layer of security for your network. Two-Factor Authentication requires a separate device (such as a phone) with a secure, constantly changing authentication code in addition to the user's password to log in.
Configuring Authentication
You can only enable 2FA for yourself, as enabling it for another user would cause them to become locked out of their account without the authentication application configured.
- Select your user account (the one associated with your login email) by navigating to the Account tab and clicking the user on the left-hand side bar
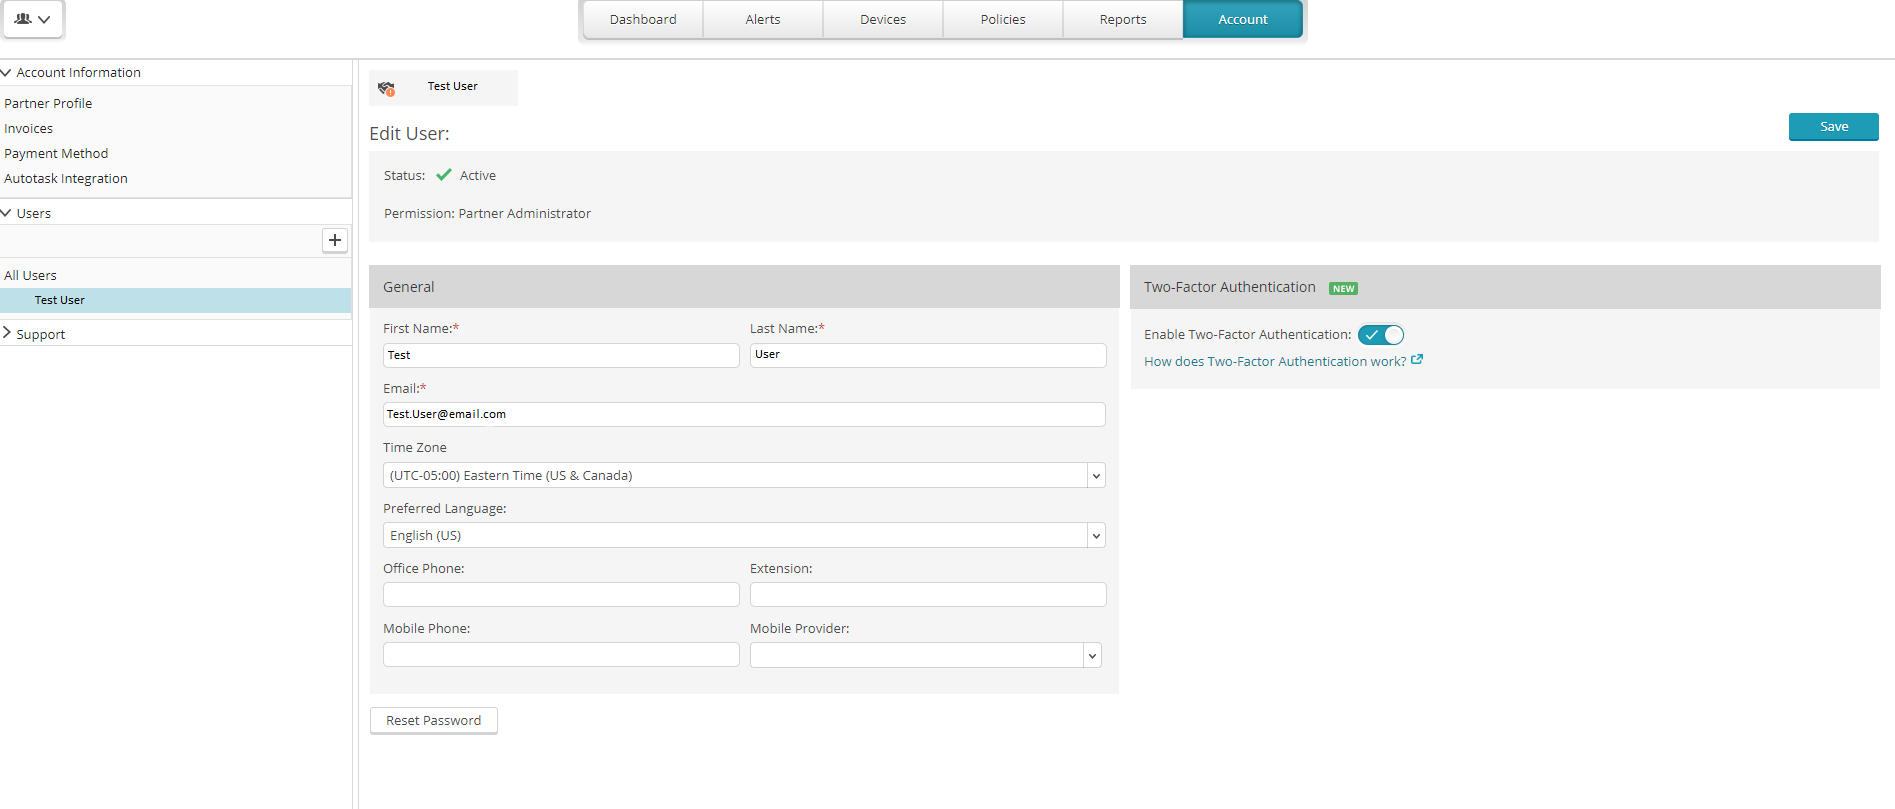
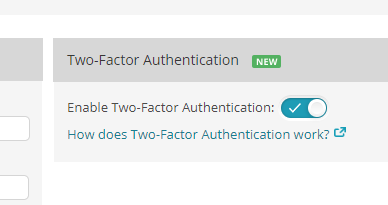
- In the Two-Factor Authentication section, move the slider to the On position to enable 2FA
- A dialog box will appear with basic steps to set up Authentication on your secondary device using either Google Authenticator or Authy. If you do not know how to install these applications, see Downloading and Using Authentication Tools
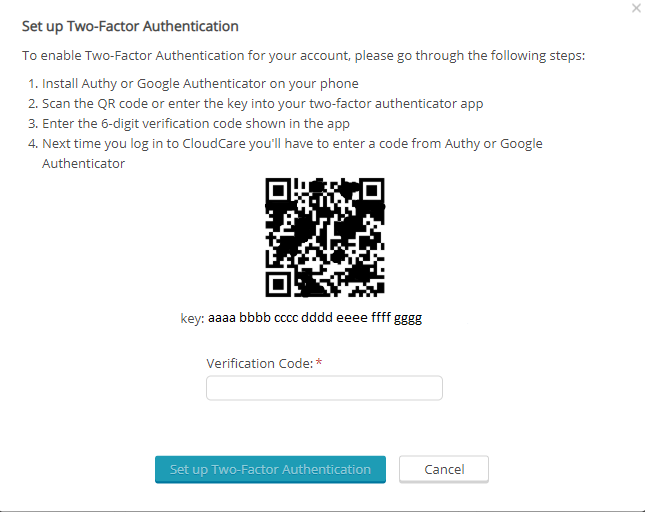
- Once you have set up authentication on your device, enter the verification code from your device into the dialog box, then press Set up Two-Factor Authentication to confirm
- A success message will appear at the top of the screen as shown, and you will also receive a confirmation email to the address on file

- The next time you log in with your CloudCare username and password, a secondary screen will appear requesting the authentication code from your device. Enter the code, then click Sign in

Disabling Two-Factor Authentication
While you can only enable 2FA for yourself, Partner users and Master Administrators can disable 2FA for other users. For a more detailed look at these permissions, see Partner vs. Customer User Permissions.
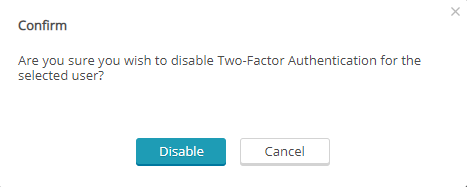
If you need to disable 2FA for a user, simply move the slider to the Off position, then click Disable in the dialog box.
Adding Multiple Authentication Devices
To add multiple authentication devices to your account, simply toggle the Two-Factor Authentication slider on and off. This will cause the dialog box with the QR code and the Authy alphabetic code to reappear so that you can authenticate another device. Please follow the steps above to add another device.
If You Have Problems
If you lose your authenticating device you can either:
- Contact your Master Administrator for CloudCare, if you have one. The Master Administrator can disable 2FA for your account so that you can log in and, if desired, add a different authentication device.
- Contact Avast Business Support via phone. The support team can fill the same role as the Master Administrator and disable 2FA to allow you to log in. Be prepared to answer questions to prove that you are the user. To protect our customers, the support team cannot disable 2FA for any customer via email.
Any issues with the authentication services which cannot be resolved by disabling 2FA should be forwarded to the support team for investigation.
Downloading and Using Authentication Tools
Google Authenticator
- Download Google Authenticator by Google LLC to your device from Play Store (for Android) or App Store (for iOS)
- Open the application by clicking its icon
- Select Begin to view Google Authenticator's opening tutorial, or skip it if desired
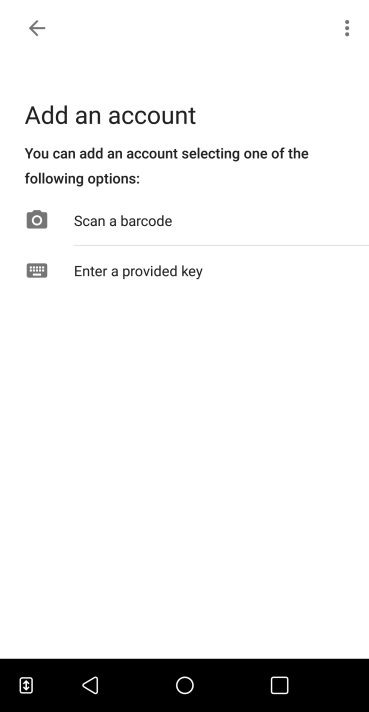
- Once you reach the Add an account page, select Scan a barcode
- If prompted, allow the app to take pictures and record video
- Hold your phone's camera to the QR code in the dialog box on your computer screen
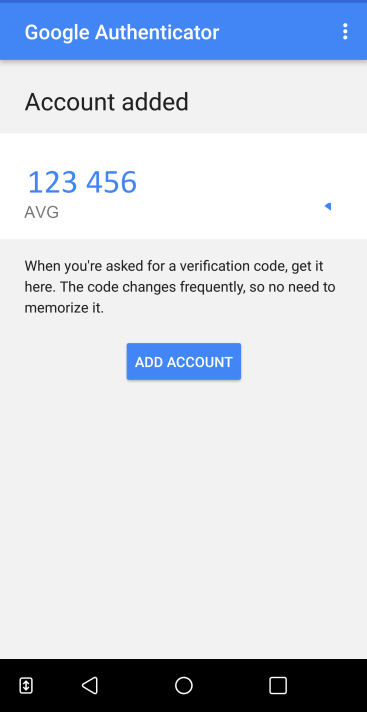
- The verification code you will need to enter into the text box in CloudCare will populate. The code changes frequently, and a small timer will be visible in the bottom right near the code
- Enter the verification code, then click Add Account to add CloudCare's authentication to your app
Any time you log in to CloudCare, you will use the code for Avast in Google Authenticator to authenticate your login.
Authy
- Download Twilio Authy Authenticator by Authy to your device from Play Store (for Android) or App Store (for iOS)
- Open the application by clicking its icon
- You will be prompted to enter your device's phone number and your email address. Then you will need to get an account verification code either via a phone call or an SMS, your choice
- Enter the registration code from the call or SMS to reach the main screen
- Click the plus button to add an account
- If desired, create a backups password for the Authy app so that if you upgrade or lose your phone, you can restore the accounts. If you do not want to create a backups password, click the icon in the top-right corner and select Skip
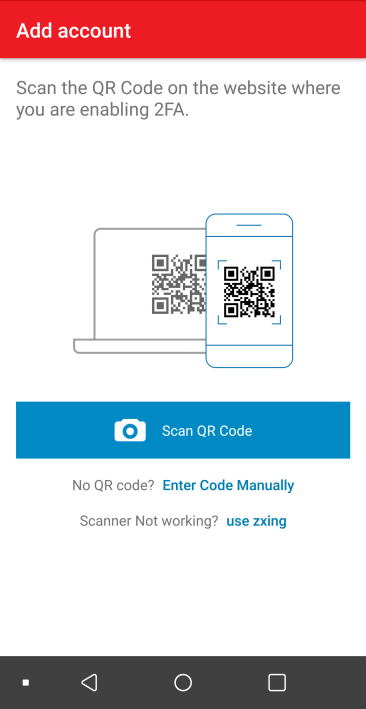
- To add the account, you can either select Scan QR Code or Enter Code Manually. If you would like to use the QR code, when prompted allow the app to take pictures and record video. Based on your choice, either hold your phone's camera to the QR code in the dialog box on your computer screen or enter the 32-character code below it
- If desired, add or alter the account name, then select Done
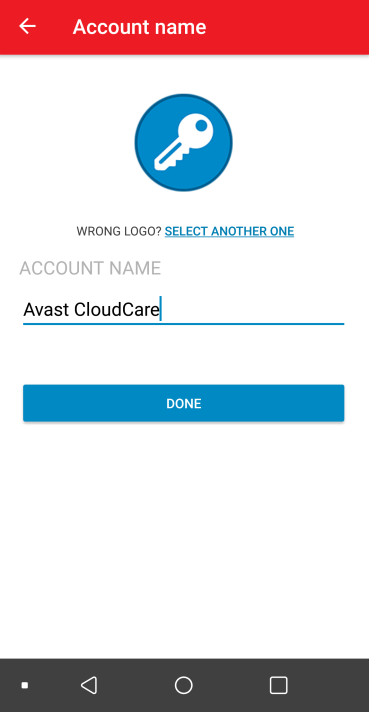
- The verification code you will need to enter into the text box in CloudCare will populate. The code changes frequently, and a small timer will be visible as a horizontal bar along the top of the app
Any time you log in to CloudCare, you will use the code for Avast in Authy to authenticate your login.
Other Articles In This Section:
Related Articles: