PROXIMANOVA-LIGHT.OTF PROXIMANOVA-LIGHTIT.OTF PROXIMANOVA-EXTRABLD.OTF PROXIMANOVA-BOLD.OTFPROXIMANOVA-BLACK.OTF
Get this font in here!
This Article Applies to:
- Avast Business Hub
By default, all detected missing patches will be installed on devices with
Excluding a vendor or an app will not prevent scanning for the patch, it will only prevent its installation.
Adding Exclusions
To add a patch exclusion:
- Open the Policies page
- Click the desired policy to open its Detail drawer
- Select the Exclusions tab
- Expand the Patch Management exclusions section
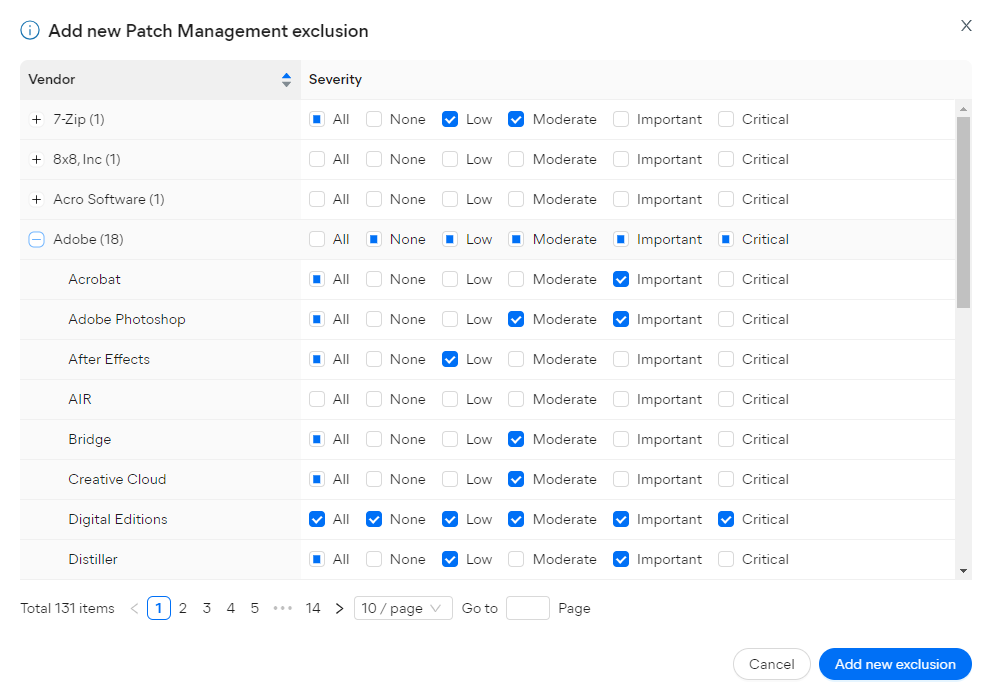
- Click + Add new exclusion

- From the list that opens, choose the vendor(s)/product(s) to exclude from patching (depending on the checkboxes you tick, you can exclude all patches related to the vendor/product or only those of certain severity)
- If you tick a checkbox next to a vendor name, the exclusion will apply to all products from that vendor. To apply the exclusion to specific products only, expand the vendor, then tick the checkboxes next to those products.
- Click Add new exclusion
Once added, the exclusions will be displayed on the Patch Exclusions list.
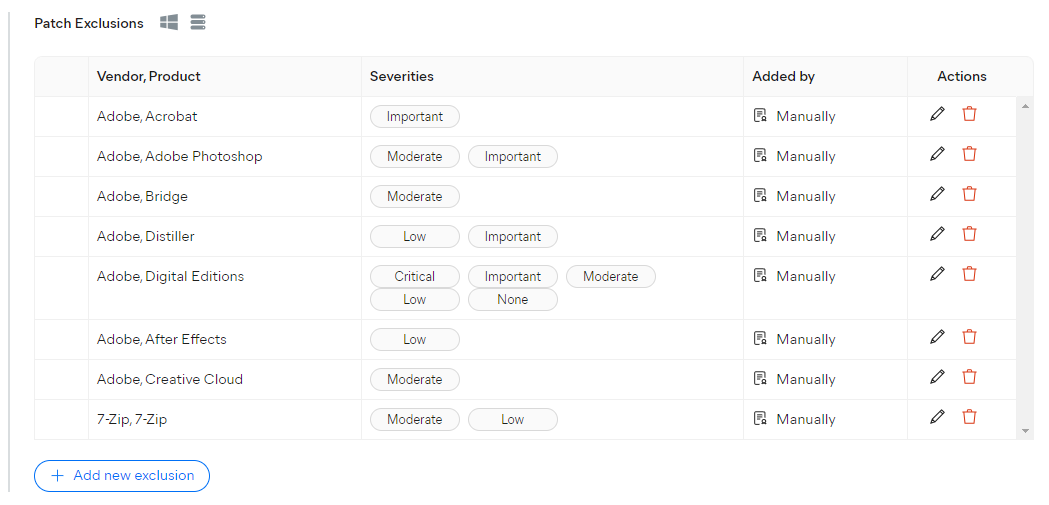
Editing and Deleting Exclusions
You can edit/delete any previously configured patch exclusions using the pencil/trash bin icons located in the Actions column of the Patch Exclusions list.

To delete an exclusion, simply click the trash bin icon next to it.
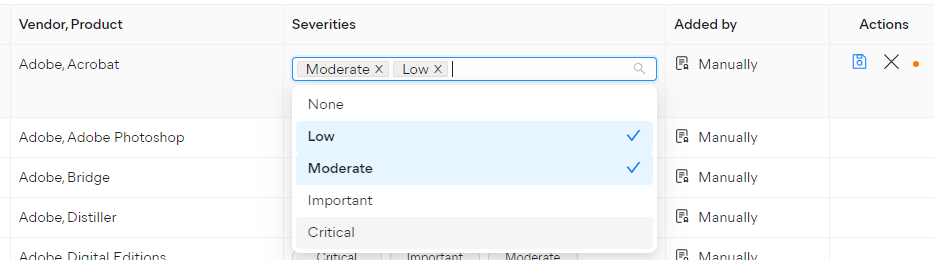
If you just need to modify an exclusion's severity level, click the pencil icon instead, select or deselect severities listed in the drop-down menu, then click the save icon.
Other Articles In This Section:
Configuring Antivirus Exclusions
Configuring Cloud Backup Exclusions
Configuring USB Protection Exclusions
Related Articles: