PROXIMANOVA-LIGHT.OTF PROXIMANOVA-LIGHTIT.OTF PROXIMANOVA-EXTRABLD.OTF PROXIMANOVA-BOLD.OTFPROXIMANOVA-BLACK.OTF
Get this font in here!
This Article Applies to:
- Avast Business On-Premise Console
The main way to manage devices via the On-Premise Console is through policies, which are groups of security rules that determine how Business Agent and available services work on end devices in your network. In other words, policies provide all of the settings for the features/services installed on the endpoints. Any changes to a policy are applied to the devices and groups using that policy.
Avast Business Management Consoles include a default policy template that has already been set up with the recommended configuration. You can apply this template or create your own by either duplicating the default one to customize it or creating a new template altogether. Note that the default template cannot be deleted until another policy takes its place.
A single policy contains settings for Windows
Creating and Editing Policies
To create a new policy, use the Add Policy button in the top right corner of the Policies page.

On the page that opens, give the new policy a name, then click Create.
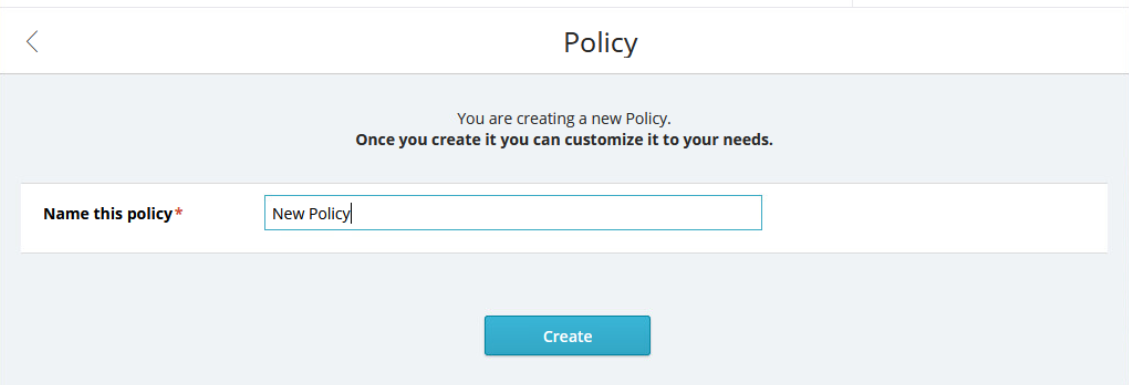
You will then be taken to the policy's settings page to review/edit the default configuration.
If you need help with policy configuration, see our Configuring Settings and Policies in Avast Business On-Premise Console articles.
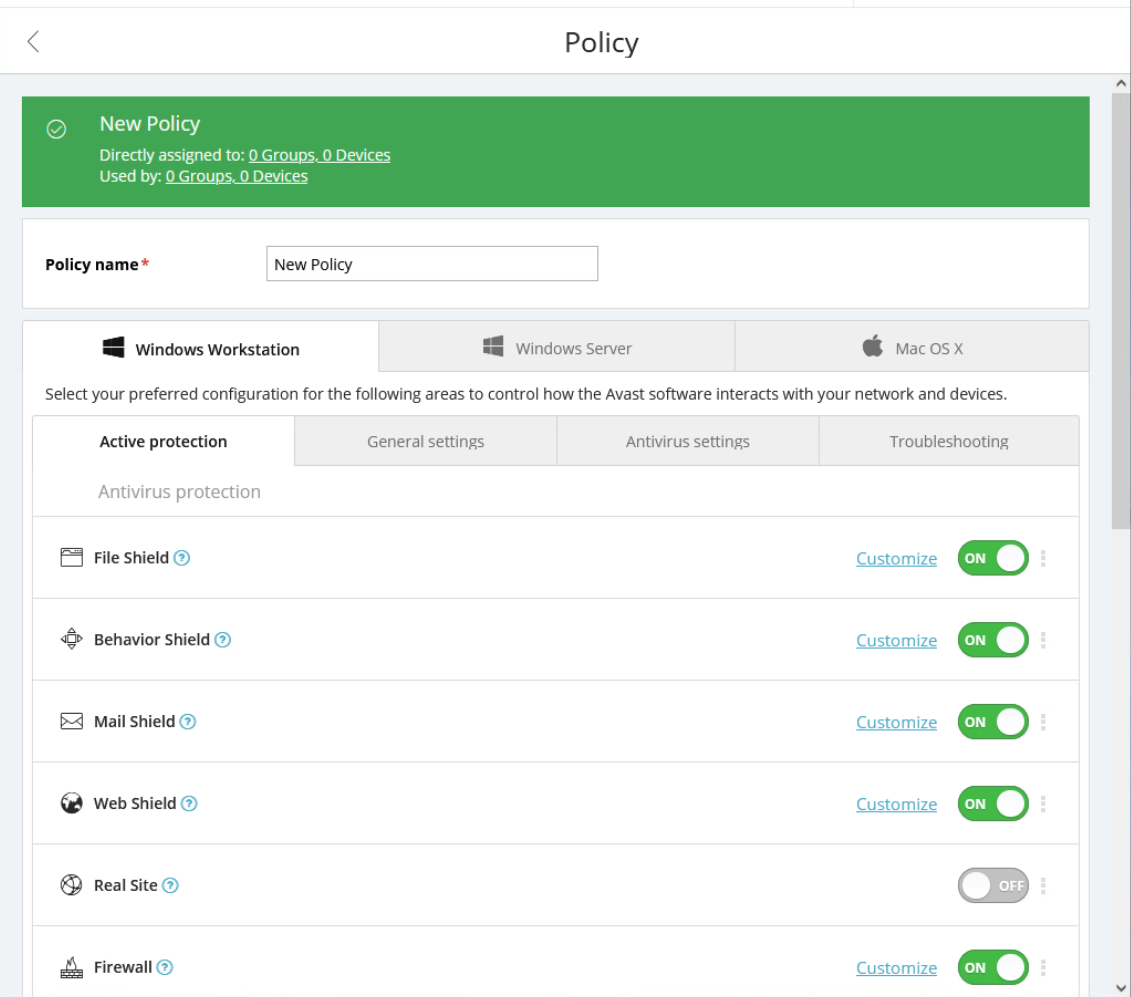
When a change in policy settings is made, the options to apply or discard the changes will appear at the top of the page.

If you attempt to exit the settings without saving or discarding the changes, a dialog will pop up, prompting you to discard the changes, keep them unapplied, or apply the changes.
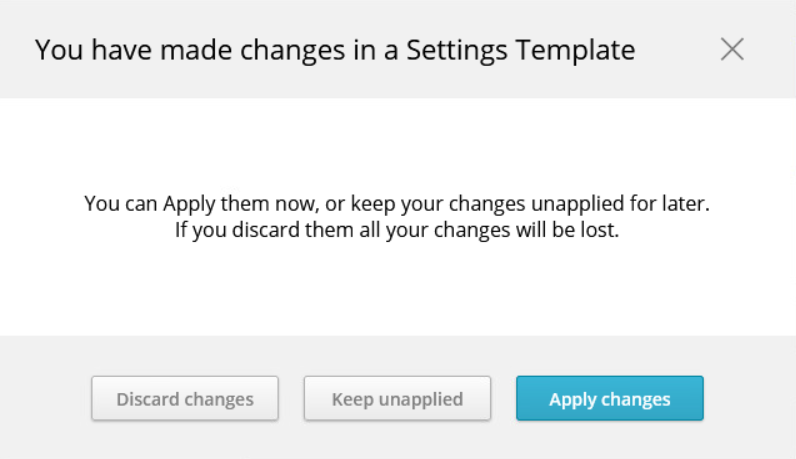
Keeping the changes unapplied will display the policy in Edited status on the Policies page.

Duplicating Policies
You may wish to duplicate the settings of one policy to only change a few details for a different group of devices. To do so:
- Go to the Policies page
- Click the three dots next to the policy you would like to duplicate to open its actions menu
- Select Duplicate

- Enter the name for the duplicate, then click Duplicate to generate the new policy
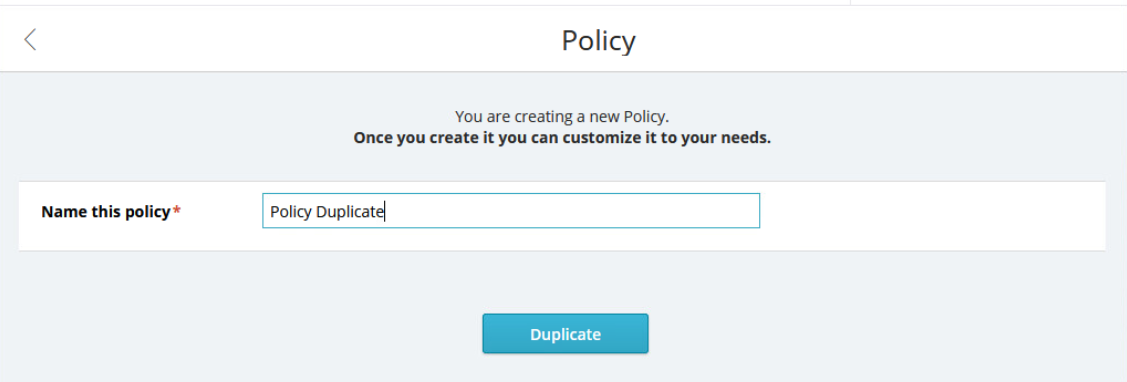
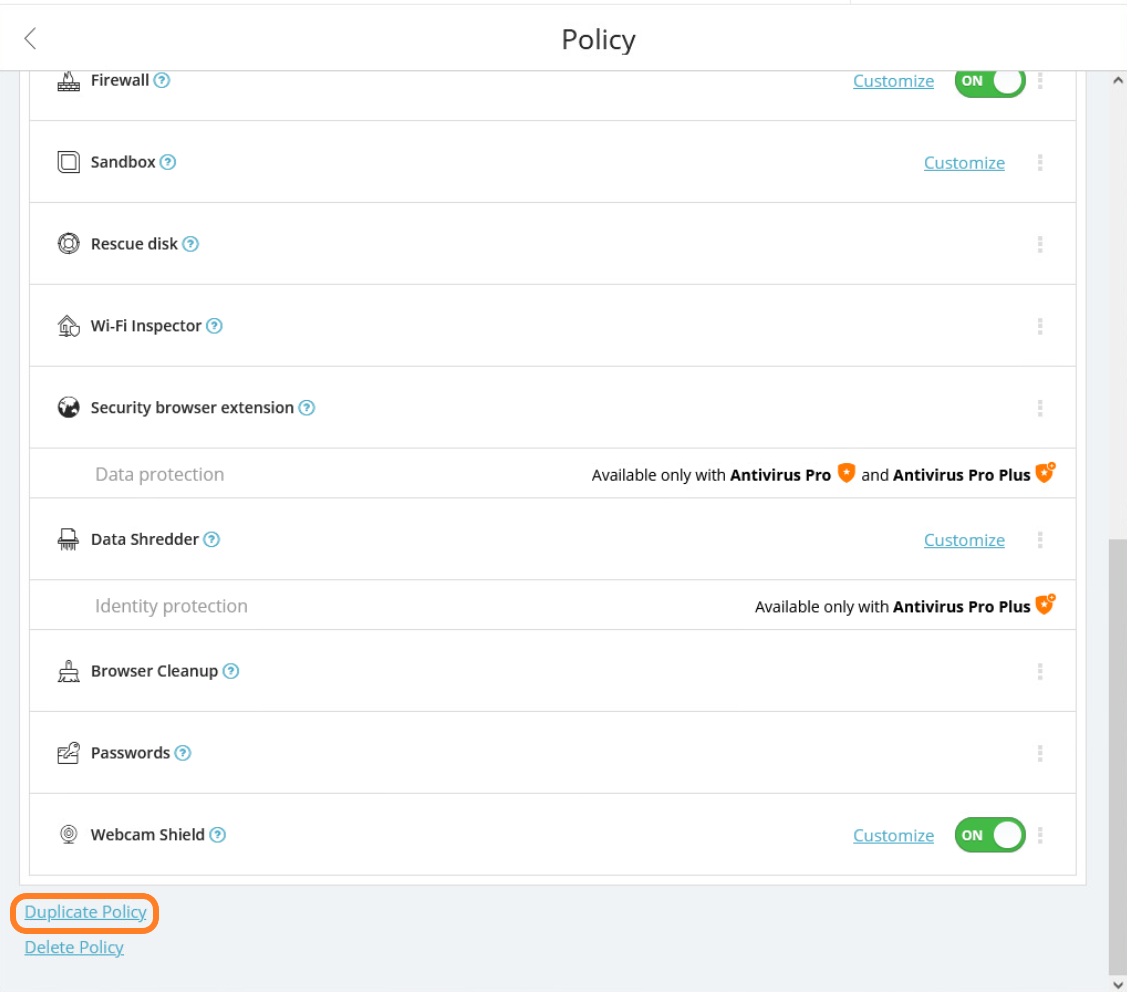
You can also duplicate a policy using the Duplicate Policy option at the bottom of the policy's settings page.
Managing Policy Assignments
During the process of adding a device to the On-Premise Console, a policy through which that device will be managed needs to be preselected (see
Each policy's assignments (devices and device groups it applies to) can be viewed on the Assigned Groups and Devices page of the policy, accessible via the links in the Directly assigned to and Used by columns on the Policies page.
The Used by column shows the total number of devices and groups using the policy, i.e. those that the policy was directly assigned to and those that inherited the policy from their parent group.

There, you can see which devices and groups the policy currently applies to. To remove an assignment, i.e. apply a different policy to any of the listed groups/devices, do as follows:
- Tick the checkboxes next to the devices and/or groups
- Click the Change Policy button in the top right corner

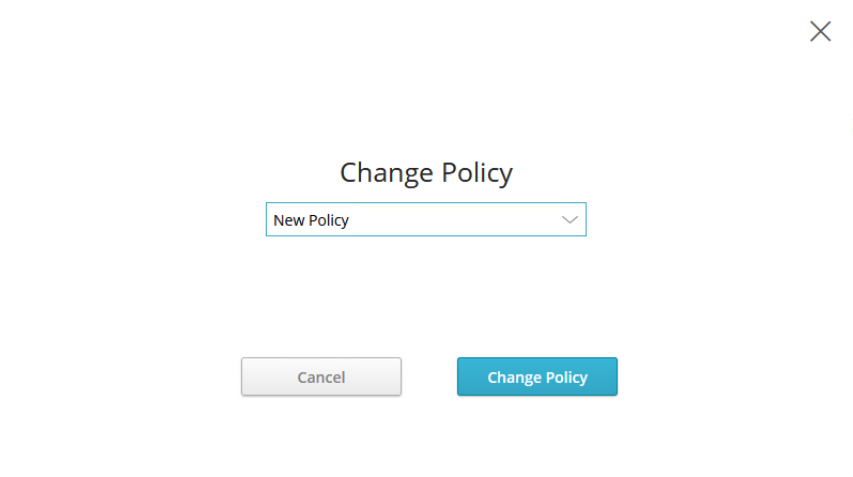
- In the pop-up dialog, select the replacement policy from the drop-down menu
- Click Change Policy
If, however, you want to add new assignments to the policy, you will need to go to the Devices page of the console. For detailed instructions, see
Deleting Policies
To delete one or more policies:
- Go to the Policies page
- Do one of the following:
- To delete a single policy, click the three dots next to the policy to open its actions menu, then select Delete
- To delete multiple policies, tick the checkboxes next to them, then click the Delete button in the top right corner

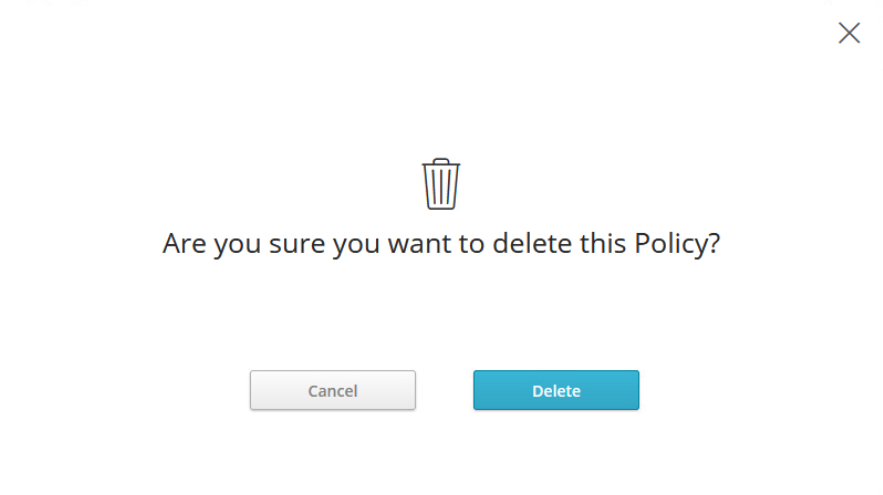
- In the pop-up dialog, confirm the deletion
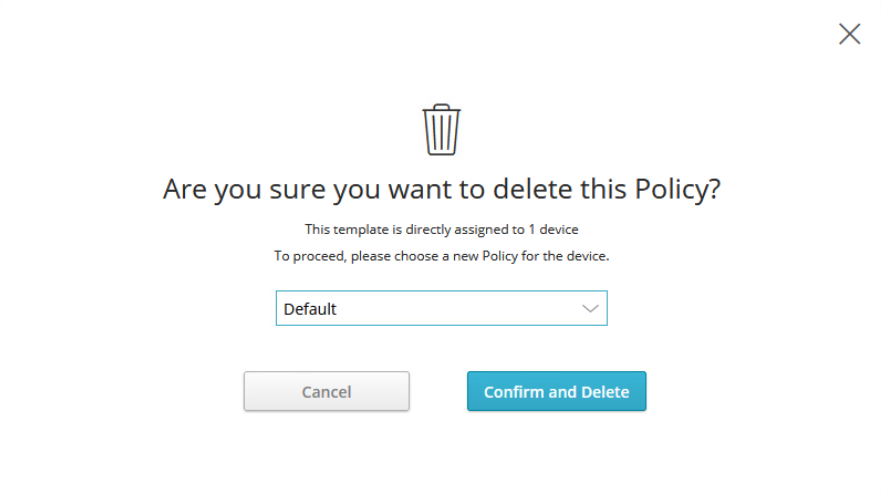
If you have devices tied to a policy you are deleting, you will be prompted to choose a replacement policy for those devices. A policy can only be deleted when no devices are assigned to it. Choose the replacement policy from the drop-down menu, then click Confirm and Delete.
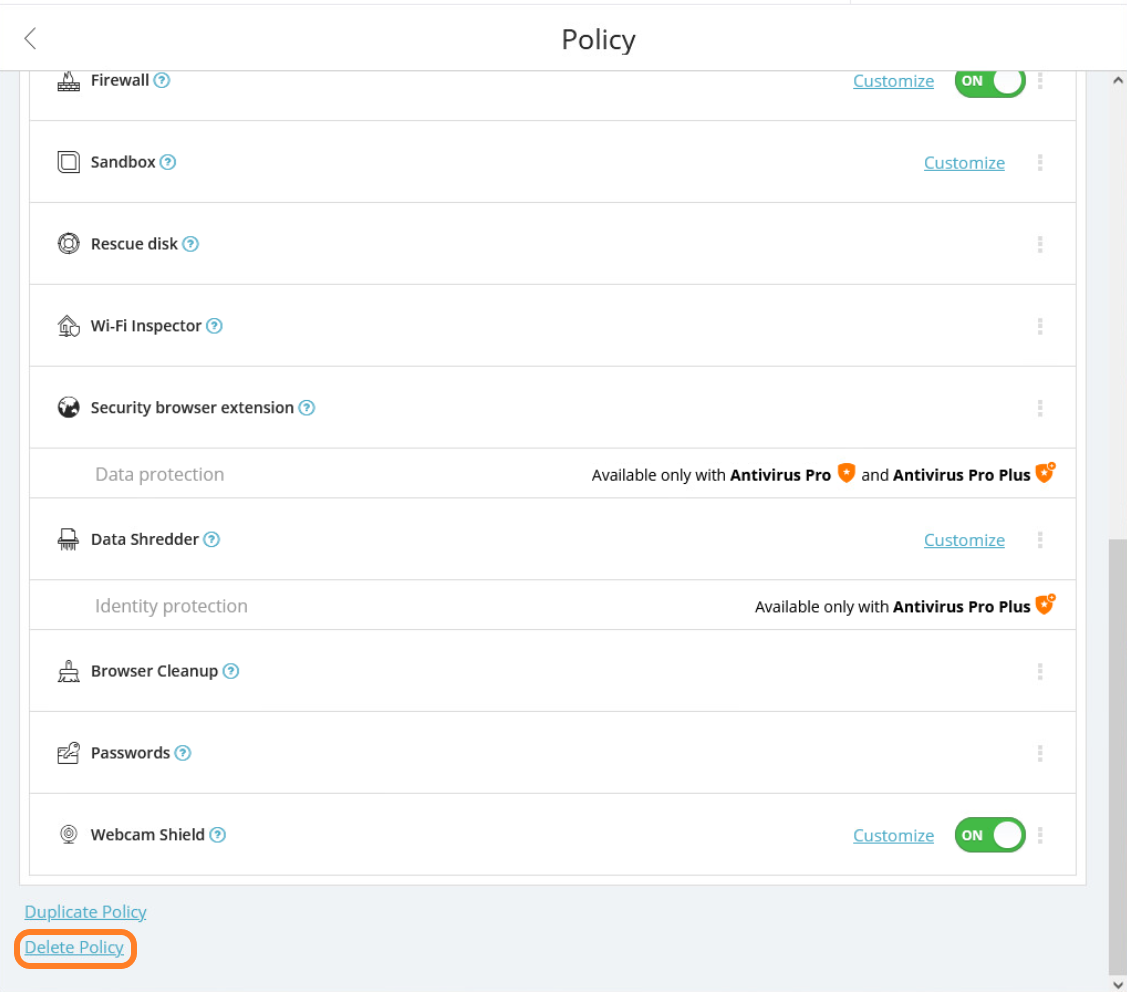
You can also delete a policy using the Delete Policy option at the bottom of the policy's settings page.
Other Articles In This Section:
Recommended Components for Servers and Workstations
Related Articles: