PROXIMANOVA-LIGHT.OTF PROXIMANOVA-LIGHTIT.OTF PROXIMANOVA-EXTRABLD.OTF PROXIMANOVA-BOLD.OTFPROXIMANOVA-BLACK.OTF
Get this font in here!
This Article Applies to:
- Avast Business On-Premise Console
Device groups in the On-Premise Console are a convenient tool for facilitating device management further. They provide greater ease of administration by enabling you to sort the devices in the console however you wish - by department, location, etc. You can even create subgroups within your groups, which can help you mirror the devices' organizational structure more accurately.
Device groups appear in the Groups panel on the Devices page. There, you will see the default group, containing all company devices. All groups you create will descend from that group, which cannot be deleted, as it must exist to move devices to if needed, or for device deployment.
Adding, Editing, and Deleting Groups
To create a new group:
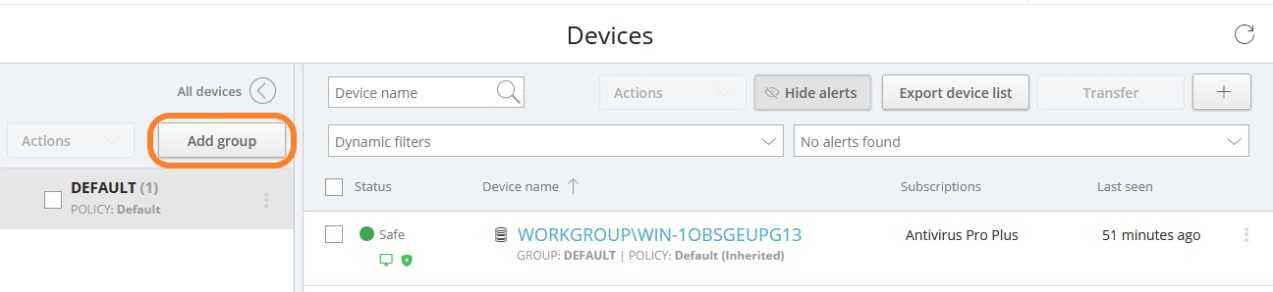
- Go to the Devices page
- Click the Add group button in the top right corner of the Groups panel
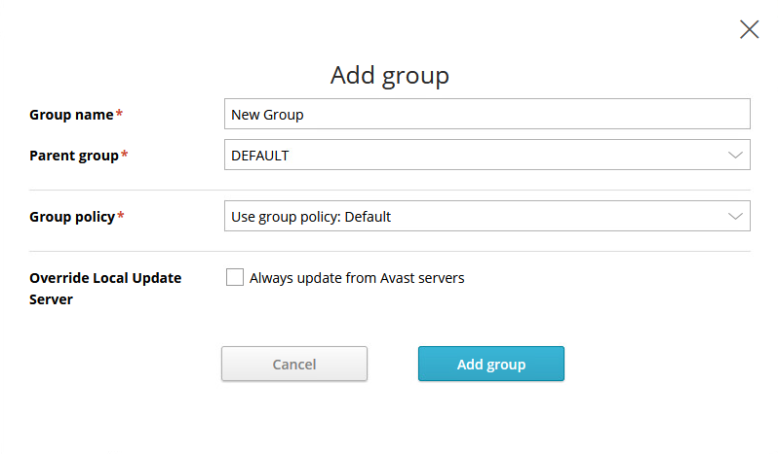
- In the dialog that opens:
- Enter the group's name
- Choose the parent group
- Select the policy that will apply to the group by default
- To update devices in the group from Avast servers even if the policy gets the updates from local update servers, tick the Always update from Avast servers checkbox
- Click Add group
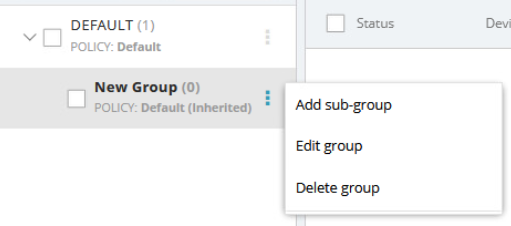
As previously mentioned, all groups you create will descend from the default one.
Via the actions menu of a group (three dots), you can edit or delete the group, or add subgroups to it.
Deleting a group will include all its subgroups. Also, any devices in the group (and its subgroups) need to be moved to a different place in the group structure before the group can be deleted.
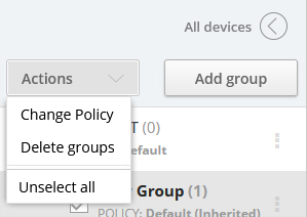
If you need to delete multiple groups or assign a policy to multiple groups, the easiest way would be to select the desired groups using the checkboxes next to them, click the Actions button in the top left corner, then choose Change Policy or Delete groups.
A group's policy can also be changed from the Assigned Groups and Devices page of the group's currently assigned policy. For more information, see
Moving Devices Between Groups
To move devices from one group to another:
- Go to the Devices page
- Do one of the following;
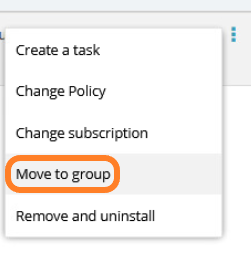
- To move a single device, click the three dots next to the device to open its actions menu
- To move multiple devices, tick the checkboxes next to them, then click the Actions button at the top of the Device list
- Select Move to group
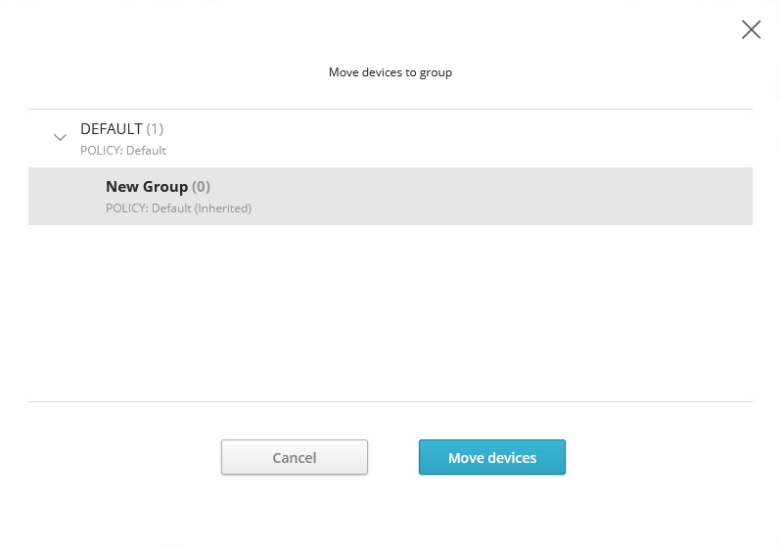
- In the pop-up dialog, select the desired group
- Click Move devices
You can also use the drag-and-drop functionality to move a device from one group to another.
By default, a group’s policy is assigned to all devices added to that group. If needed, you can manually assign a different policy to any device in the group (see