PROXIMANOVA-LIGHT.OTF PROXIMANOVA-LIGHTIT.OTF PROXIMANOVA-EXTRABLD.OTF PROXIMANOVA-BOLD.OTFPROXIMANOVA-BLACK.OTF
Get this font in here!
This Article Applies to:
- Avast Business CloudCare
IMPORTANT: The CloudCare console does not support opening multiple tabs in the same browser session. Please use multiple browsers or incognito mode instead.
At customer level of your CloudCare console, you can set up reports to automatically run on a recurring basis and then be emailed in PDF format to specified users.
Note that reports that are available only at partner level cannot be scheduled. These are:
- Active Trial Accounts
- Billing and Subscription History
- Customer and License Summary
- Subscription Summary
- Customer Alerts
- Backup Summary
To configure a recurring report:
- Go to the Reports page (at customer level)
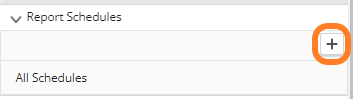
- Expand the Report Schedules section of the left-hand navigation pane
- Click the plus button
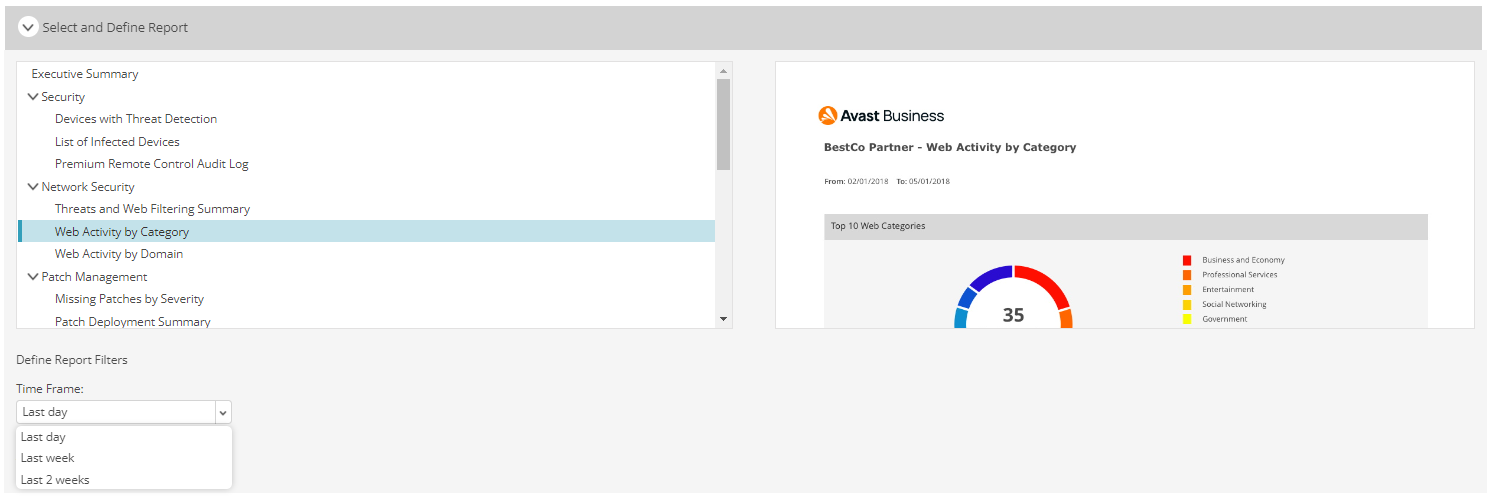
- In the Select and Define Report section, choose the report you want to schedule, and define the time frame
- Some report types will also require specifying which devices or device groups the report will apply to.
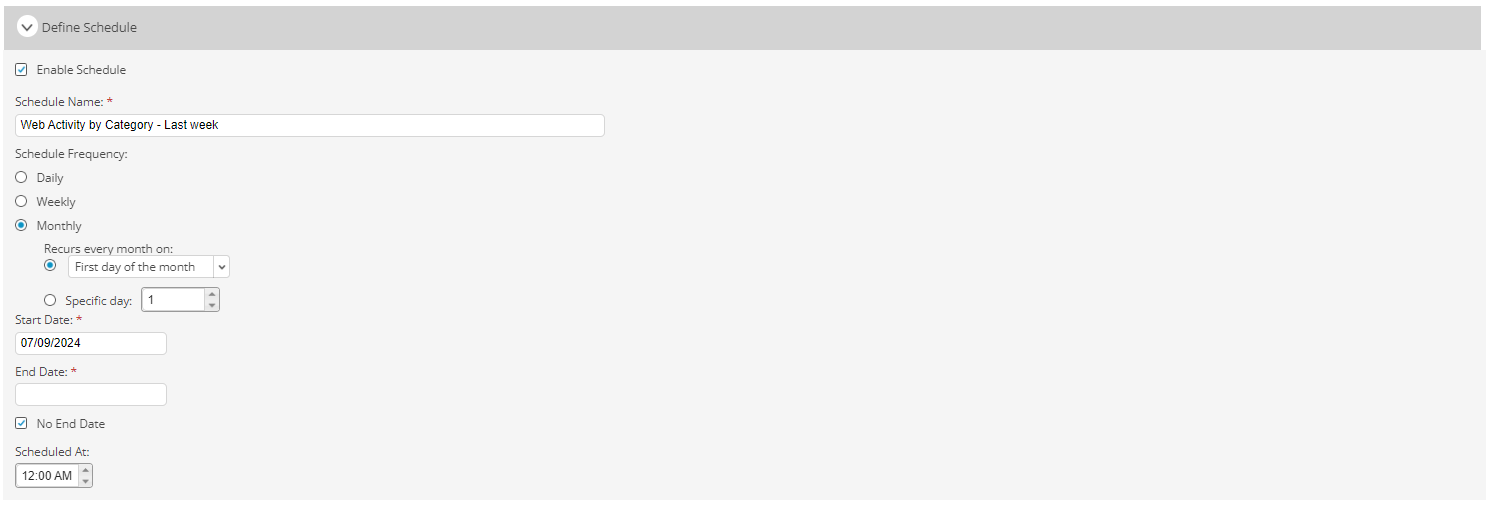
- In the Define Schedule section:
- Tick the Enable Schedule checkbox
- Enter the schedule's name (or leave the automatically generated one)
- Choose the schedule's frequency - Daily, Weekly (specify the day of the week), or Monthly (select First day of the month, Last day of the month, or Specific day)
- Select the schedule's start date
- Select the schedule's end date (or tick the No End Date checkbox)
- Specify the time of day when the report will be generated
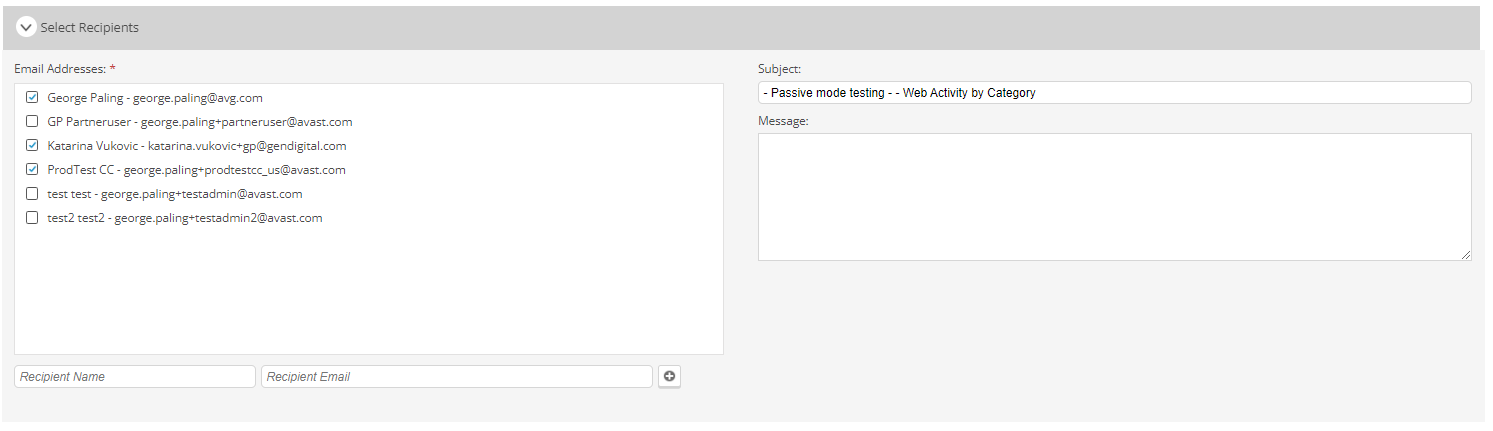
- In the Select Recipients section:
- Tick the checkboxes next to the desired recipients (you can add more recipients to the list if needed)
- Enter the email subject (or leave the automatically generated one)
- Include a message for the recipients (optional)
- Save the schedule
The newly created schedule will be listed under Report Schedules > All Schedules. You can access and edit the schedule's settings by clicking its name, or you can remove the schedule completely using the Delete option in the Actions column.
If a schedule is deleted, the report will no longer be emailed to any of the previously specified recipients.
