PROXIMANOVA-LIGHT.OTF PROXIMANOVA-LIGHTIT.OTF PROXIMANOVA-EXTRABLD.OTF PROXIMANOVA-BOLD.OTFPROXIMANOVA-BLACK.OTF
Get this font in here!
This Article Applies to:
- Avast Business CloudCare
IMPORTANT: The CloudCare console does not support opening multiple tabs in the same browser session. Please use multiple browsers or incognito mode instead.
Virus Chest provides the ability to view and manage the contents of the virus vault on a device, group, or organizational level. From Virus Chest, you have the options to add a detected object to the policy’s exceptions list, restore a file, and delete detected threat(s) from selected devices. The contents of the chest can be filtered by date, severity, and device.
Accessing Virus Chest
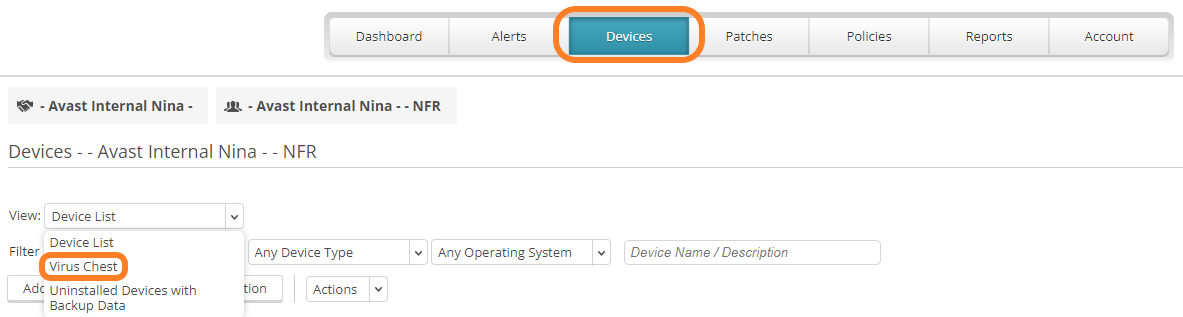
To access Virus Chest (at the device detail level, or at group/account level), on the Devices tab click the drop-down menu beside View: and select Virus Chest.
Restoring and Deleting Virus Chest Entries
You can delete or restore files by ticking the checkbox next to the entry or entries and selecting Restore/Delete.

Note that it is not necessary security-wise to delete entries that have been quarantined. The function is available in case you want to clear the list or, for instance, make sure you don't accidentally restore a quarantined item.
Adding Exceptions
You can also add exceptions for the files in the chest using the + symbol next to the virus name/path.

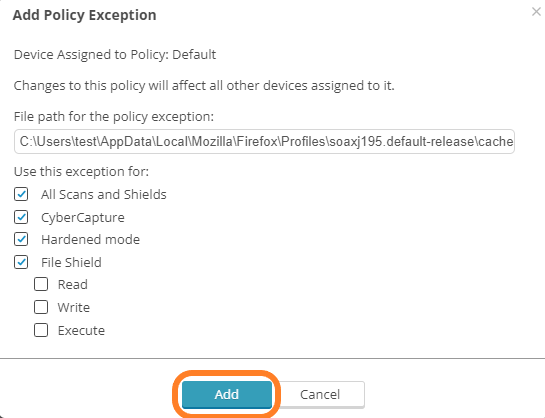
A new window will pop up. From available options, tick the ones you want the exception to be applied to. You can choose between:
- All Scans and Shields
- CyberCapture
- Hardened mode
- File Shield
Then, choose between the Read, Write, and Execute permissions the exception will have (pick at least one option). Once you are done, click Add.
For more information on adding exceptions (also referred to as 'exclusions'), see Configuring Antivirus Exclusions.
Other Articles In This Section:
Creating and Sending Support Packages
'Logon Path Failed' Error During Installation
'Unable To Load the Policy' Error
'Service Registration Failed' Error During Installation
Related Articles: