PROXIMANOVA-LIGHT.OTF PROXIMANOVA-LIGHTIT.OTF PROXIMANOVA-EXTRABLD.OTF PROXIMANOVA-BOLD.OTFPROXIMANOVA-BLACK.OTF
Get this font in here!
This Article Applies to:
- Avast Business On-Premise Console
Before you attempt to install the Avast Business On-Premise Console, be sure your system matches the requirements listed in
You can download the On-Premise Console installer here or from
- Copy the installer file to a location accessible by the end device
- Double-click the installer file to run it
- If asked, allow the application to make changes to the device
- Read and agree to the terms of service

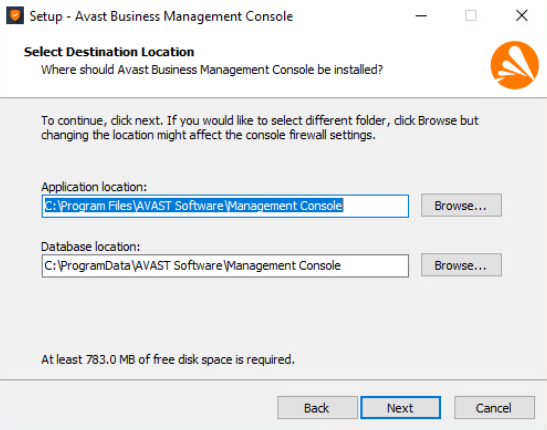
- Review and, if needed, edit the application and database locations (we recommended leaving the default locations)
- Before continuing with the setup, ensure you have enough free disk space.
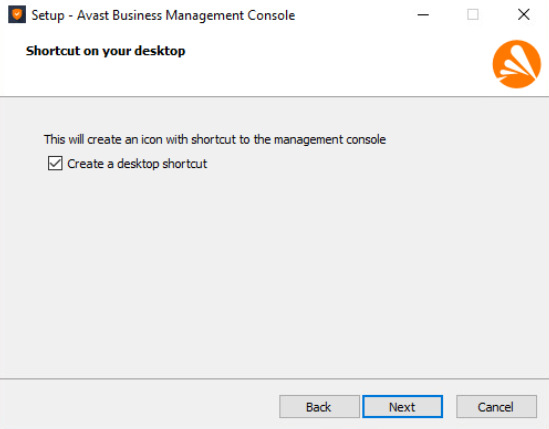
- Choose whether a shortcut to the console will be created on your Desktop
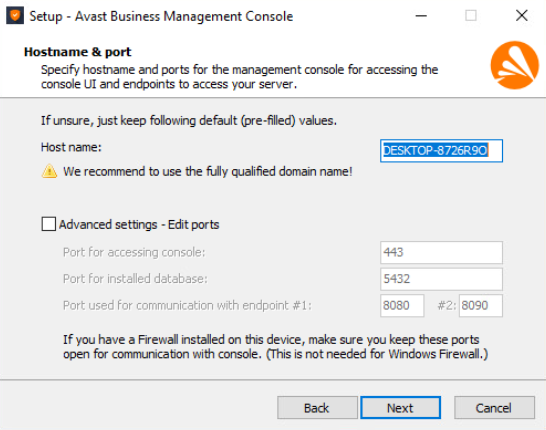
- Review and, if needed, edit the host name for the console and the default ports for accessing the console and database and for communication
- Mentioned in the wizard is the recommendation to use the fully qualified domain name (FQDN) - this can help limit any potential issues with DNS resolution. The alternative is that you can use the device's IP address (further eliminates any issues with DNS). If using an IP address, the device must be assigned a static IP address.
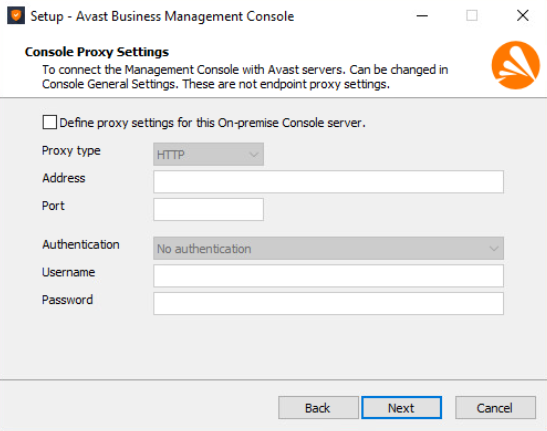
- If needed, define proxy settings for the On-Premise Console server
- You can configure HTTP or SOCKS proxy types, and basic authentication for HTTP.
- This can also be done post-installation (see
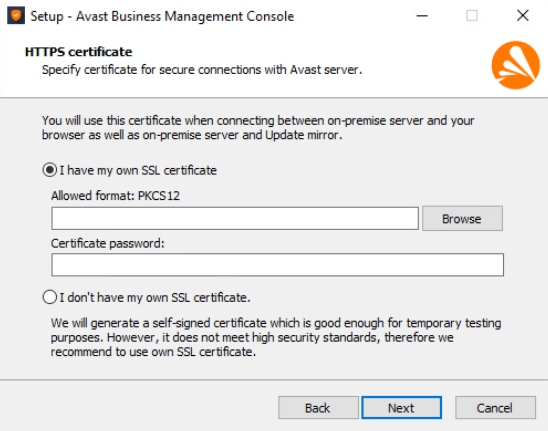
- Choose between using your own SSL certificate (recommended) and a self-signed certificate (lower security standards)
- Only JKS (.jks) and PKCS12 (.p12) types are supported. If you have other, unsupported types, you can convert them using an online tool of your choosing.
- If you choose the self-signed certificate but later want to replace it with your own certificate, you will need to reinstall the console (see Changing On-Premise Console Certificate).
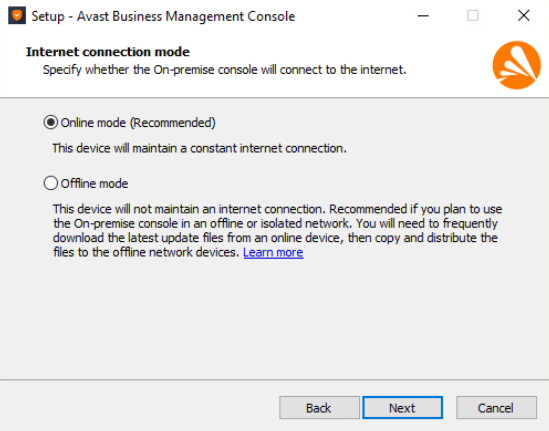
- Choose whether the console will operate in online or offline mode
- The description for offline mode confirms the details of when to use this mode, including the need to manually perform frequent actions to keep devices updated. The Learn more link will bring you to the
- If needed, you can change the chosen console mode post-installation (see Changing On-Premise Console Certificate).
- Review the installation details (you can go back to modify the installation if needed), then start the installation

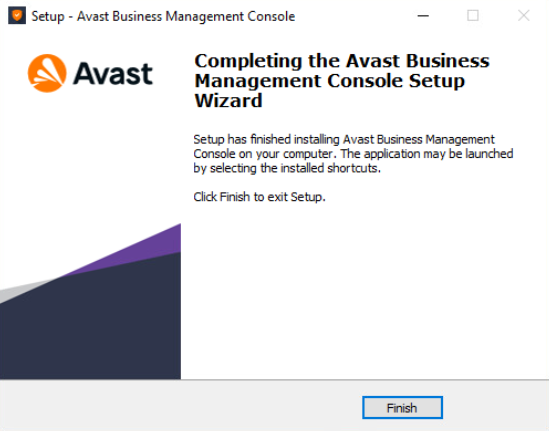
- Wait for the installation to complete, then click Finish to close the installer
The first time you run the On-Premise Console, you will be asked to register and create a new account and company (see Creating On-Premise Console Account). Each following time you run the console, you will need to log in using the registered credentials. Upon first login, you will also need to upload your subscription (see Activating Subscriptions).
Other Articles In This Section:
Updating On-Premise Console on Windows
Changing On-Premise Console Certificate
Related Articles:
Configuring Offline On-Premise Console