PROXIMANOVA-LIGHT.OTF PROXIMANOVA-LIGHTIT.OTF PROXIMANOVA-EXTRABLD.OTF PROXIMANOVA-BOLD.OTFPROXIMANOVA-BLACK.OTF
Get this font in here!
This Article Applies to:
- Avast Business Hub
Remote Control allows you access and manage your network through the Business Hub. With this service, you can remotely configure settings or monitor and diagnose issues on end devices, providing support to your network's users from anywhere online.
There are two types of Remote Control offered in the Hub:
- Premium Remote Control (PRC) — Paid service available in single or unlimited concurrent sessions (depending on your choice during subscription purchase) of any length
- Basic Remote Control (BRC) — Free service of five 15-minute sessions per month
Remote Control can be used on both Windows and macOS devices, and can be activated at both multi-tenant/partner or site/customer level.
Requirements
The Business Agent will install the service. Therefore, the usual Business Agent requirements are needed, as well as the Remote Control specific requirements.
For macOS devices, screen recording and remote control permissions are also required.
 System
Windows
- 11 — x64
- 10 (Pro, Education, and Enterprise editions) — x64
- Server 2025 — x64
- Server 2022, 2019, 2016, 2012 (any edition with latest service pack excluding Server Core) — x64
macOS
We support ARM-based chips on macOS devices.
- macOS 13.0 (Ventura) and higher, with at least 500MB of free disk space
Hardware
Processor
- 1.5GHz Intel® Pentium® 4 or faster processor (or equivalent), supports SSE3 instructions
- ARM support (in macOS only)
Memory
- 1GB RAM
Disk space
- 2GB
Firewall
Ports
- TCP 80
- TCP 443
URLs
- *.avast.com
- *.avcdn.net
- islonline.net
Key Features
The key features of Remote Control in Business Hub are:
- Keyboard Matching: Matches the host’s keyboard layout and vice versa.
- Restart and Resume: Restarts the connection of the viewer to the device and resumes the connection.
- Pause Session: Pauses a current active connection to a device and resumes it later on.
- Multiple Monitors: Allows switching between multiple monitors that the device may have.
- Session Notes: Allows typing in notes during and after the session.
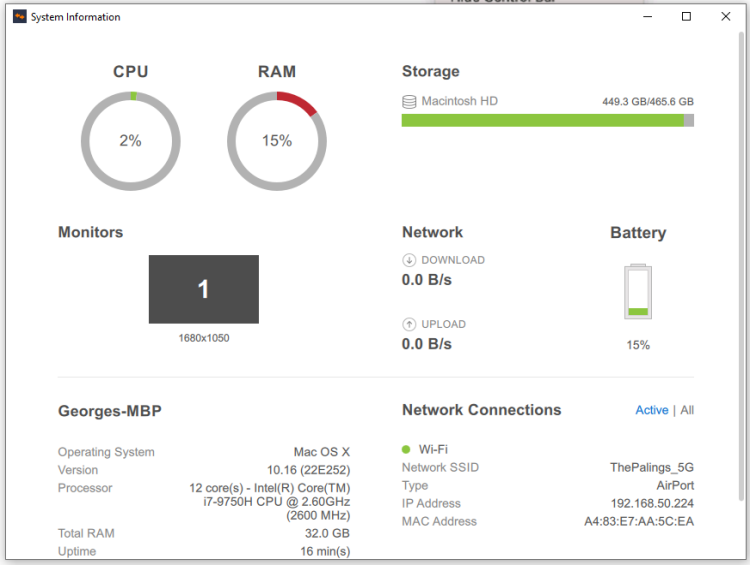
- Info: Provides vital information about the connected device, such as CPU, IP, memory, data drives, and more.
- Select Region: Displays only a specific part of the device’s desktop.
- Session Recording: Captures your session for follow-up or training purposes.
- Share My Screen: Shares your screen so the user can see the admin’s screen.
- Whiteboard: Allows drawing on the connected devices’ screen to adding shapes and text.
- Blank Screen: Blanks the connected device’s screen so the end user cannot see anything.
- Screen Capture: Allows taking an image snapshot of the connected device’s screen.
- Copy/Paste to a Remote Computer: Allows copying from one device and pasting to the other.
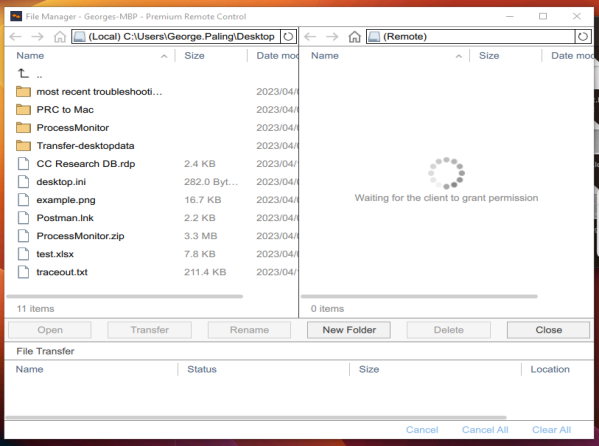
- Files: Allows transfering files to and from devices, along with pausing/resuming a file transfer.
- Chat: Allows communication with the user during the session.
- Quality: Allows changes to the viewer’s quality resolution.
- Tools: Offers quick commands like CTRL+ALT+DEL
Activating Remote Control
Activating Premium Remote Control requires purchasing a subscription from the Hub, while Basic Remote Control does not require a subscription to be activated. PRC and BRC are available at either multi-tenant/partner level or at site/customer level.
Site admins cannot use a PRC subscription at site level if the subscription is only at multi-tenant level.
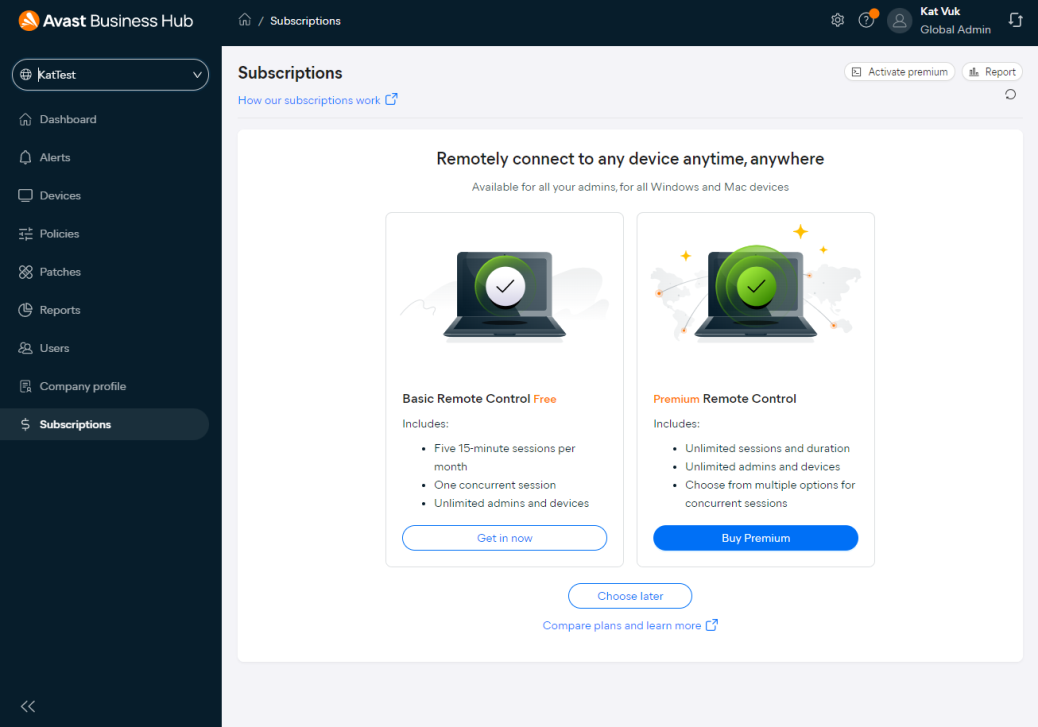
From the Subscriptions page at the multi-tenant/partner level of the Hub, select Get in now to activate Basic Remote Control, or Buy Premium to purchase Premium Remote Control.
Similarly, at the site/customer level (or the single-tenant version) of the console, select Activate basic for free for Basic or Buy premium for Premium Remote Control.
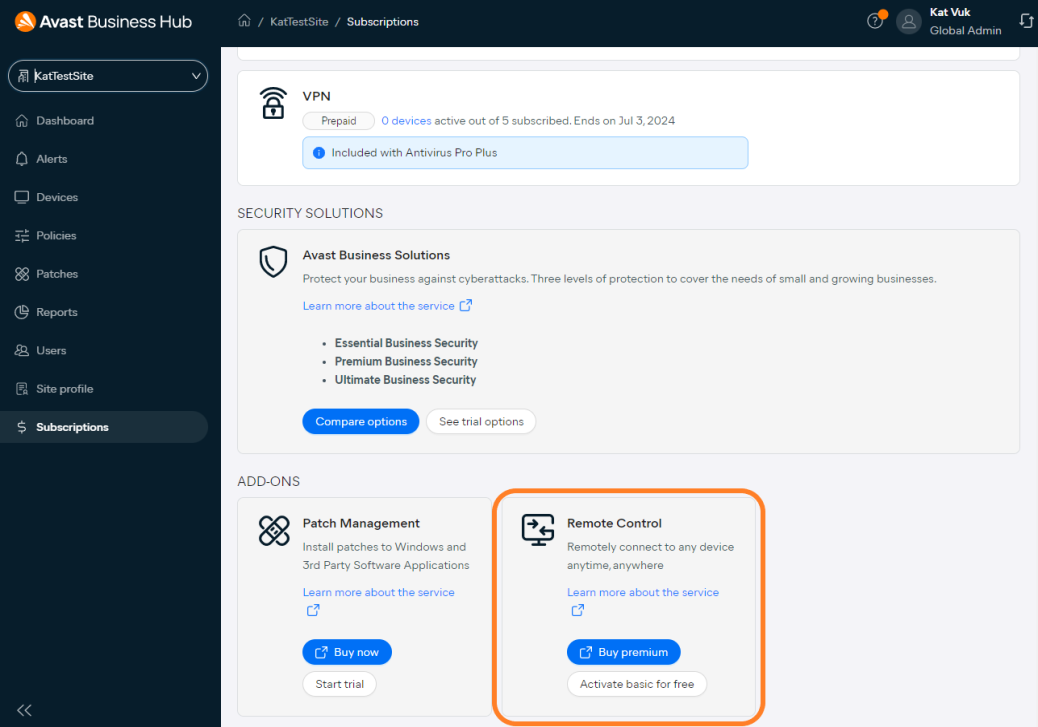
If you already have Basic Remote Control activated, you will see Upgrade instead of Buy Premium.
Depending on the service you chose, do one of the following:
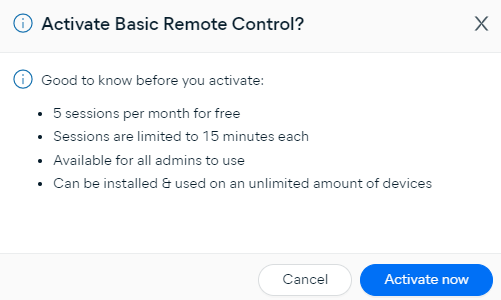
- For Basic Remote Control, review the information in the dialog pop-up, then confirm the activation by clicking Activate now.
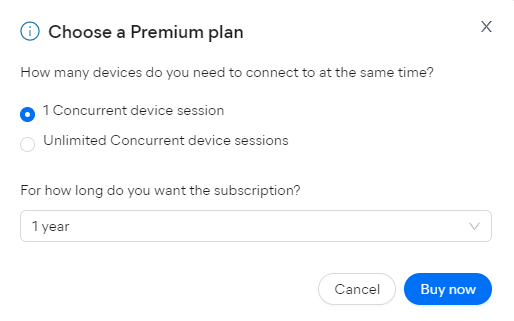
- For Premium Remote Control, choose between one or unlimited concurrent sessions, select the duration of the subscription (one, two, or three years), then click Buy now to proceed to checkout and complete your order.
You can also purchase the Premium subscription from your account manager or the Business Sales Team. In that case, you will be provided a wallet key to enter into the console.
Once activated, the Remote Control service will become available on the Subscriptions page.
For Premium, the subscription type will be displayed (one or unlimited concurrent sessions).

For Basic, the number of sessions (used/total) will be displayed.

Clicking the count link will bring you to the Remote Control Report.
Installing/Uninstalling Remote Control
The activated Remote Control Service will become available for new installations as part of the Business Agent deployment.
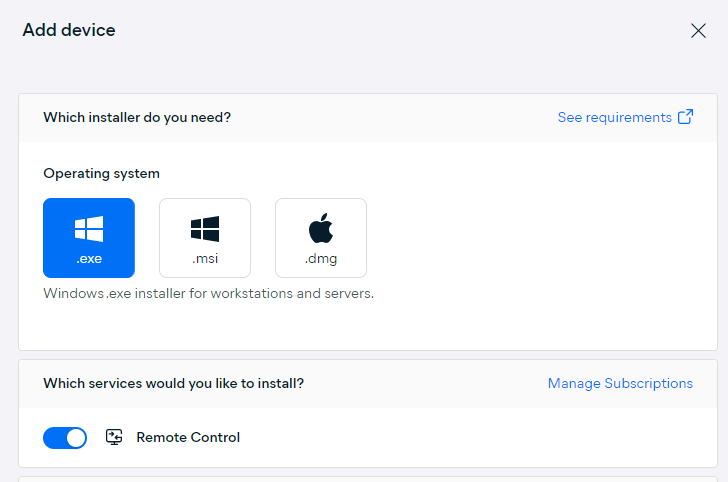
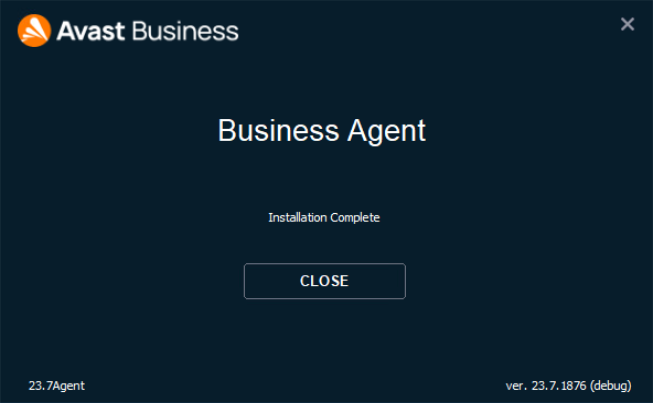
Download the package and execute the installer as usual - the Agent will install alone, and then install Remote Control afterward.
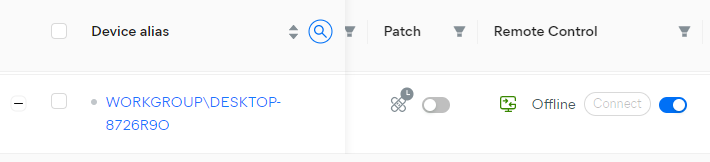
Inside the Business Hub, the Remote Control service can be seen on the Devices page through selecting the Remote Control column.
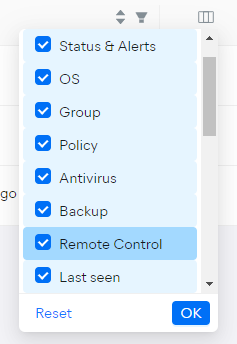
Once added, the column will display the Remote Control icon and toggle.
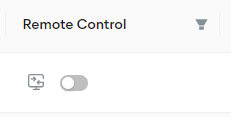
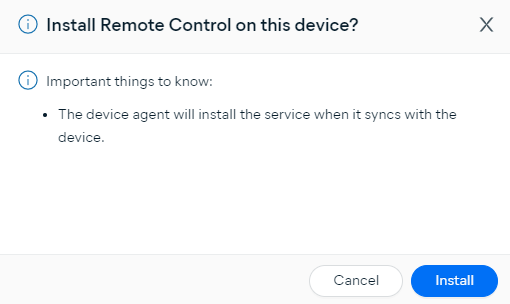
Existing devices can also add Remote Control post-installation using this toggle — click it so that it turns blue, then confirm the action by clicking Install in the pop-up dialog.
The service will be installed once the Agent syncs with the device.
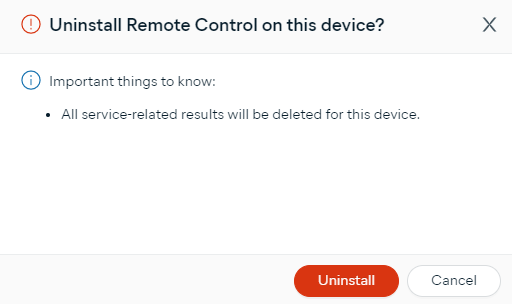
To uninstall Remote Control, click the toggle so that it turns gray, then confirm the action by clicking Uninstall in the pop-up dialog.
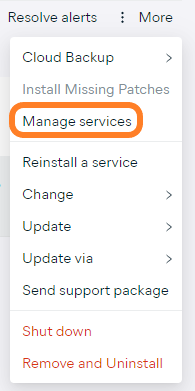
You can also bulk change the Remote Control service to off/on via the Manage Services option.
For
Installing Viewer Application
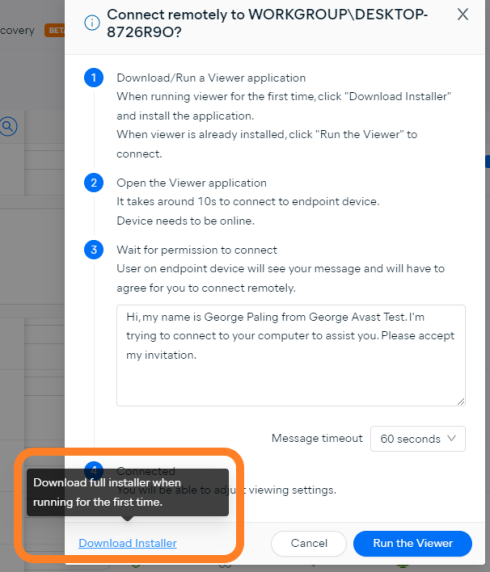
To be able to connect to devices, the administrator/viewer must install the ISL Light viewer application. This can be downloaded when selecting Connect for any device that has Remote Control installed.

From the dialog that opens, download the installer via the link at the bottom.
Then, execute the downloaded installer file and complete the installation process.
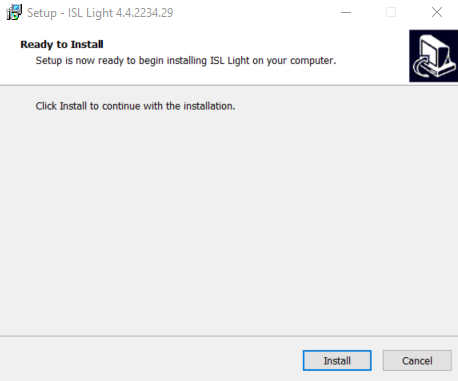
Once complete, the ISL Light application will be displayed in the installed application for the viewer.

Connecting to Devices
To remotely connect to a device:
- Go to the Devices page
- Expand the device you want to connect to - it must be online and with BRC/PRC installed (see above for installation steps)
- Select connect next to the Remote Control icon
- In the dialog that opens, you can see the process and (for workstations) choose a custom message and a time-out for auto-connect (Windows) or auto-reject (macOS)
- Click Run the Viewer to launch the session and open the Viewer app
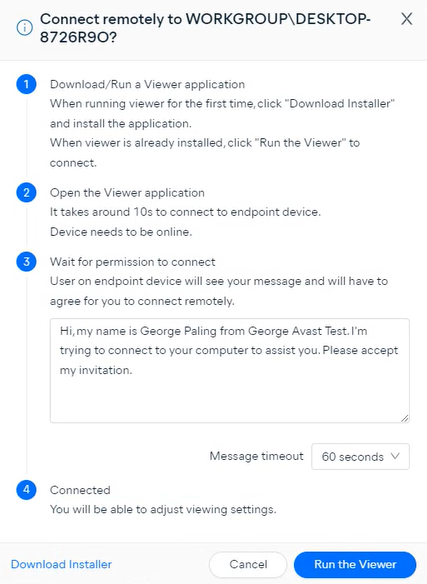
While waiting for the user to accept/reject the session or the request to time out, the Viewer application will display the Waiting for Remote Connection window.

Once the session starts, you will see the user's desktop and be able to remotely control the device.
Viewer Tools
During the remote session, the administrator/viewer can use a variety of tools from the top bar:
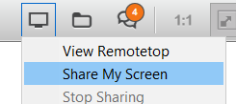
- Share My Screen: Allows the viewer to share their screen with the end user
- File Manager: Allows the viewer to manage files on the system - the user will need to allow this (or the viewer can allow themselves)
- Chat: Opens the chat window to communicate with the end user (the user side visible in the bottom right corner of their desktop)

- Marker: Allows marking the screen while sharing
- Pointer: Drops an arrow on the screen for the user
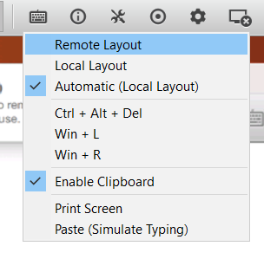
- Keyboard: Allows sending a variety of keyboard commands to the end device, using remote/local layout (or auto), enabling clipboard, print screen, and paste
- System Information: Displays information about the end device
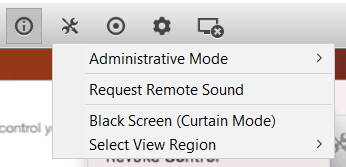
- Administrative Mode: Allows rebooting, rebooting in safe mode, and forcing those actions
- Request Remote Sound: Allows sound from endpoint in viewer device
- Black Screen (Curtain Mode): Blanks out the end user's screen during session
- Select View Region: Sets the user's desktop as the view region, or the one selected by viewer
- Session recording: Records the session on the viewer's device and allows the viewer to save the recording on their disk
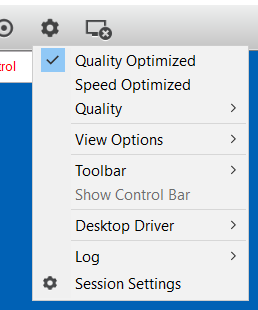
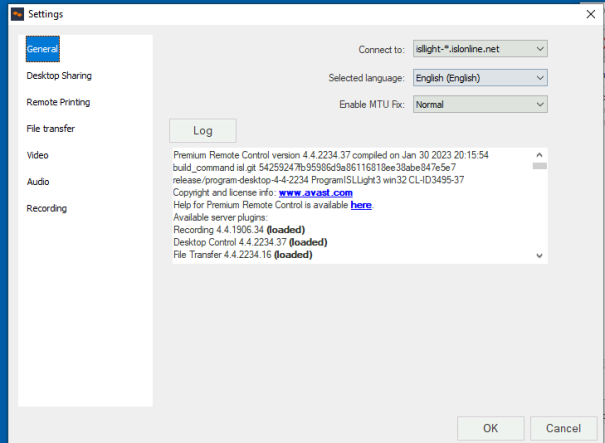
- Settings menu: Offers multiple options for quality and speed, view, toolbar, viewing the log, as well as the advanced session settings for the remote connection (most of which are defaults and are not required to be accessed)
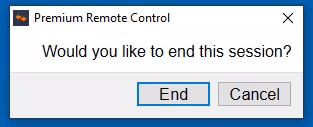
- End Session: Ends the remote connection upon viewer confirmation
End Device During Remote Sessions
There are no client-side features in Remote Control for Business Hub. The Business Agent handles the communication and implementation of the Remote Control.
Connection Prompts
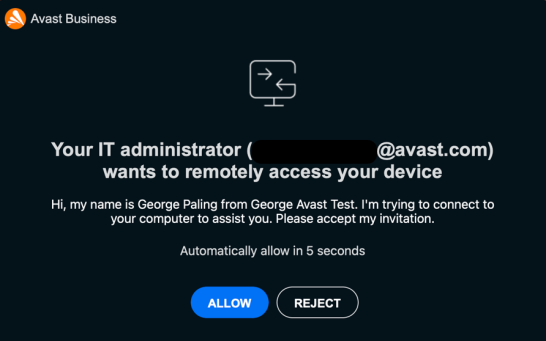
When a connection to a Windows device is attempted, the end user will see the consent dialog, either with default text and timeout, or what the admin defines when launching the connection (see the steps at the top of this section).
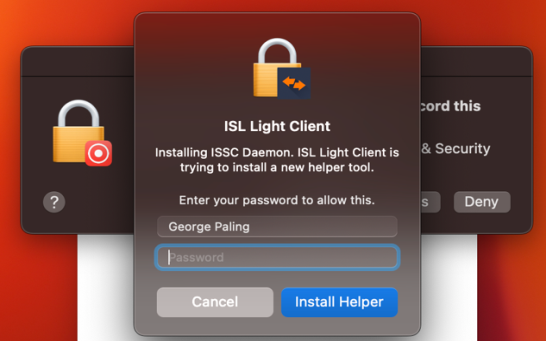
When a connection to a macOS device is attempted, the end user must allow the installation of the ISL Light Client and grant permission for screen recording and remote control (until this time, the viewer will see a blank screen). Once these steps are complete, the viewer will be able to view and control the device.
Connection Widget Options
The connection widget is displayed by default at the top of the screen. Selecting the menu will provide the user with several functions:
- Stop Sharing: Stops the remote view/control - the viewer can re-initiate through selecting View Remotetop (the local user will need to allow the connection again)
- Revoke Control: Prevents the viewer from being able to control, but they can still view - this status is visible in the widget (the user can then Grant Control again)
- Whiteboard tools: Allows the user to either freely draw lines on the screen (Freehand) or drop small arrows (Pointer) - both can be exited by pressing Esc
- Clipboard: Enables/disables the viewer from copying to clipboard
- Position: Allows changing the location of the widget
- Hide Control Bar: Hides the widget

From the ISL Light Client, the user can also see the various changes made by the viewer, and can send messages to them. Stop/Start will allow the user to control whether the viewer can see/control the device. They can also end the session through the end session icon.
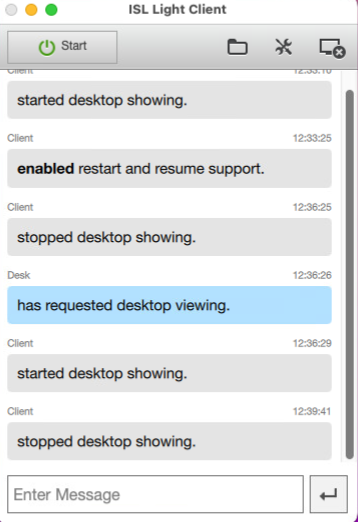
The user can also see the file transfers and settings (although it's not likely they will require this part, the viewer should control those settings). There are more settings related to quality which are ISL defaults that do not require any changes. Some features are also not available (e.g. remote printing).
End Device's Status Effect on Connection
There are several states of the end device which will affect the remote connection process:
| OS | Status | Result |
|---|---|---|
| Windows server |
User logged in |
User consent message 60s, auto acceptance |
|
User session locked |
User consent message 60s, auto acceptance |
|
|
No user logged in |
Immediate connection | |
| Windows workstation | User logged in | User consent message, auto acceptance |
| User session locked | User consent message, auto acceptance | |
| No user logged in | Immediate connection | |
| macOS | User logged in | User consent message, auto rejection |
| User session locked | User consent message, auto rejection | |
|
No user logged in |
User consent message, auto rejection |
If the device is in hibernation, sleep mode, or switched off, it will show offline in the console and connection will not be possible.
Viewing Remote Connection Details and Report
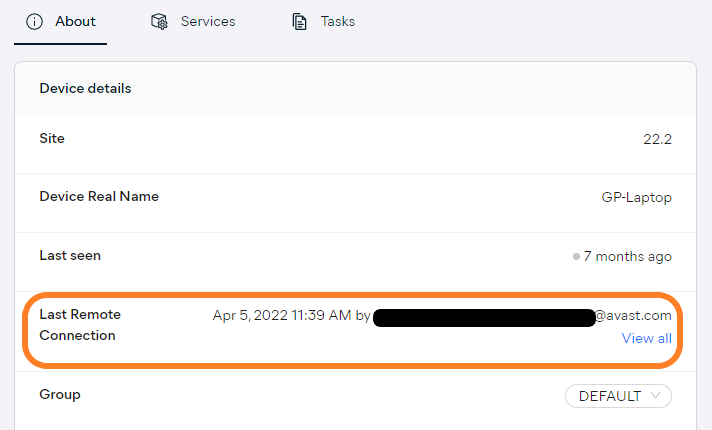
In the Device Detail, devices will display the Last Remote Connection information. The View all link will bring you to the Remote Control Report.
Within Services, you can see the status of Remote Control, and connect to the device (if online).

FAQ
Why does the session automatically disconnect after 15 minutes?
This would mean you are using Basic Remote Control, which only allows five 15-minute sessions per month.
Why do I get a blank screen connecting to macOS devices?
The first connection to a macOS device requires the local administrator to provide certain permissions (see the Connection Prompts section above), after which the screen for the viewer should be visible.
I am unable to connect to a device - empty new tab opens but nothing happens. What should I do?
You need to install the viewer application before being able to connect to the end device (see the Installing Viewer Application section above). Once installed, you can connect to devices successfully.
Are there any policy settings in the Hub for Remote Control?
No, the only settings are changed/set during the remote connection (the admin message, timeout - see the Connecting to Devices section above).
What's the difference between PRC in CloudCare compared to Business Hub?
The client is the same, but the implementation is different:
- In the Hub, the viewer app is installed, and devices can be connected at any time
- In CloudCare, a new executable must be downloaded for each connection