PROXIMANOVA-LIGHT.OTF PROXIMANOVA-LIGHTIT.OTF PROXIMANOVA-EXTRABLD.OTF PROXIMANOVA-BOLD.OTFPROXIMANOVA-BLACK.OTF
Get this font in here!
This Article Applies to:
- Avast Business Hub
The main way to manage devices via the
Avast Business Management Consoles include a default policy template that has already been set up with the recommended configuration. You can apply this template or create your own by either duplicating the default one to customize it or creating a new template altogether. Note that the default template cannot be deleted until another policy takes its place.
A single policy contains settings for Windows
Creating Policies
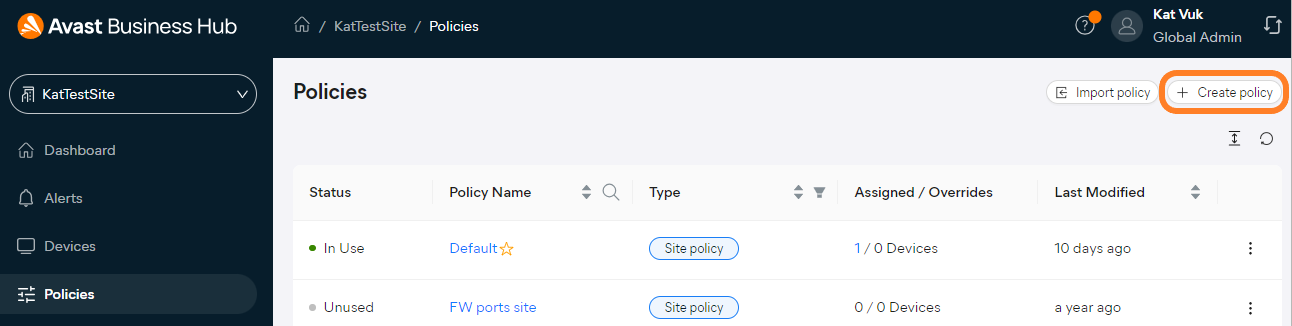
To create a new policy, use the + Create policy button in the top right corner of the Policies page.
If you are using the multi-tenant console, open the page at the site level to create a site policy or at the company level to create a global policy (see
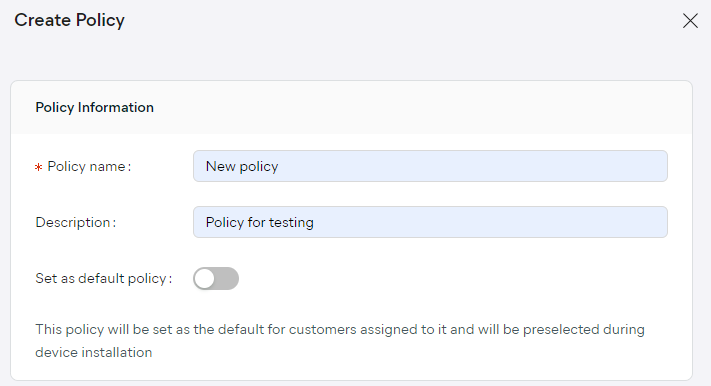
In the drawer that opens, give the new policy a name (required) and a description (optional).
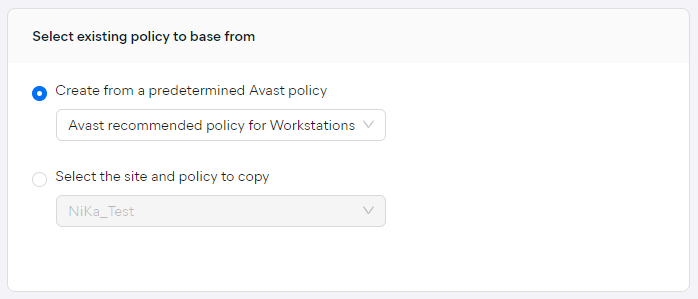
Then, choose whether the new policy will be based on one of the two recommended Avast templates (for workstations or for servers) or on one of existing policies.
The workstation template is designed to provide the default settings expected from a workstation in a network (e.g. with Firewall, Web Guard, and other features enabled), while the servers template is designed for the default settings expected from a server in a network (e.g. without workstation-type features that either cannot or should not be installed on server OS). Regardless of the choice here, any device type can be assigned to the policy, as this is just a base to select from, and the policy can be edited at any time.
Once you are done, click Create at the bottom . This will automatically open the new policy's Detail drawer, where you can customize the settings further.
Editing Policies
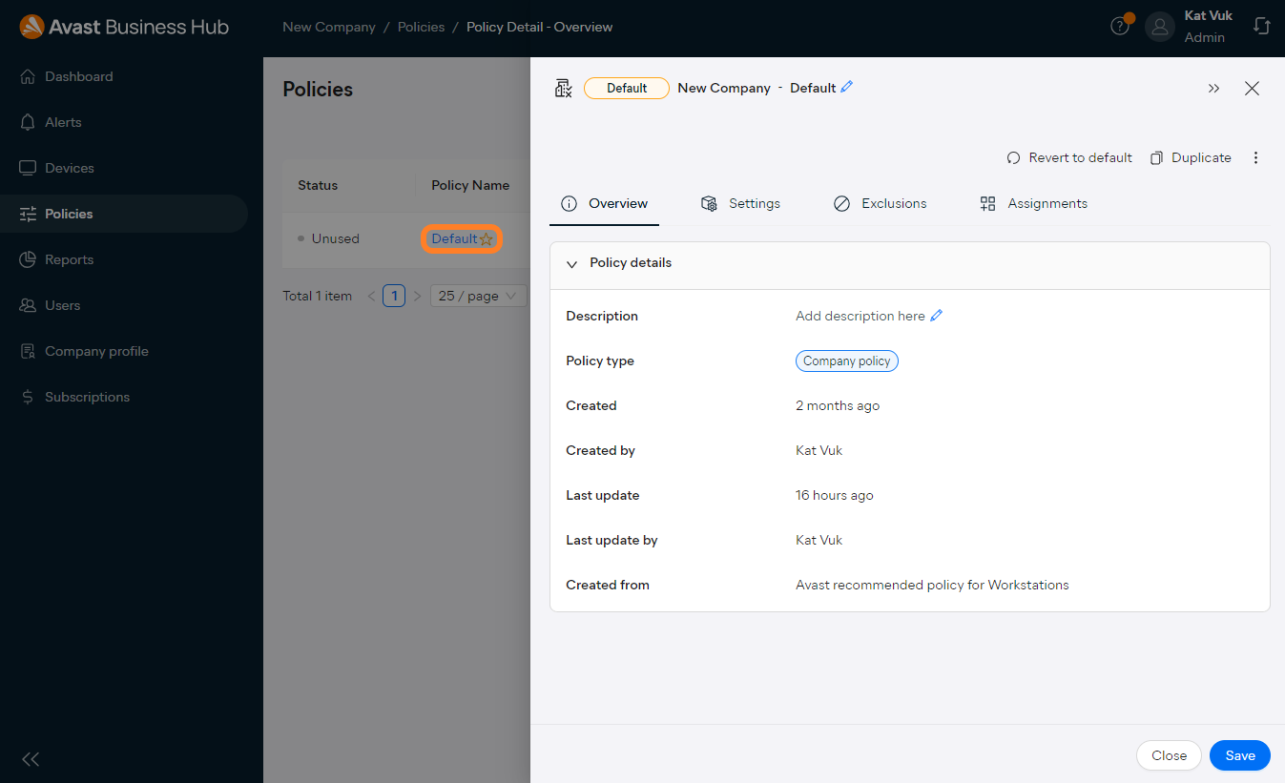
You can edit a policy via its Detail drawer, accessible by clicking the name of the policy on the Policies page.
Here, you can rename the policy or change its description via the pencil icons, edit policy assignments (devices
To learn more about what each policy setting is used for, see
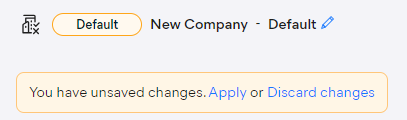
When a change is made, the You have unsaved changes dialog will appear at the top of the drawer. You can apply or discard the changes directly from here, or select Save at the bottom of the drawer.
If you attempt to close the policy drawer without saving or discarding the changes, a dialog will pop up, prompting you to discard the changes, keep them unapplied, or apply the changes.
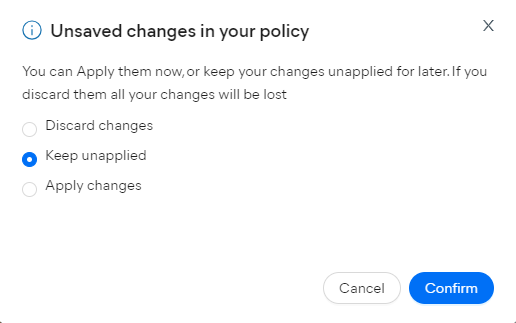
Keeping the changes unapplied will display the policy in Edited status on the Policies page.

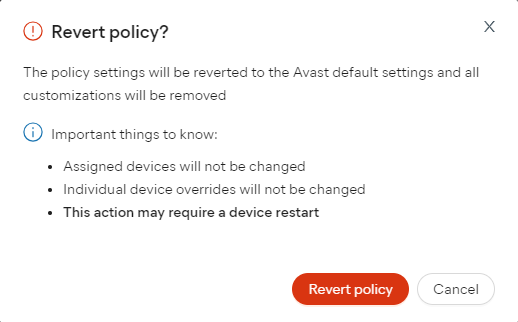
Reverting Policies to Default Settings
If you wish to remove any customization from a policy, i.e. revert its settings it to the default Avast configuration:
- On the Policies page, click the name of the policy
- Click Revert to default in the top right corner of the policy's Detail drawer

- Confirm the action
Setting Policies as Default
A default policy is the policy that will be preselected when adding new devices to the network. Each time you create a
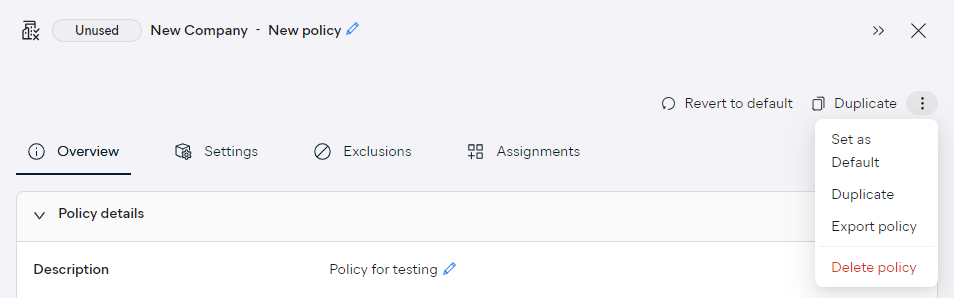
- On the Policies page, click the three dots next to the policy you wish to set as default
- Select Set as default
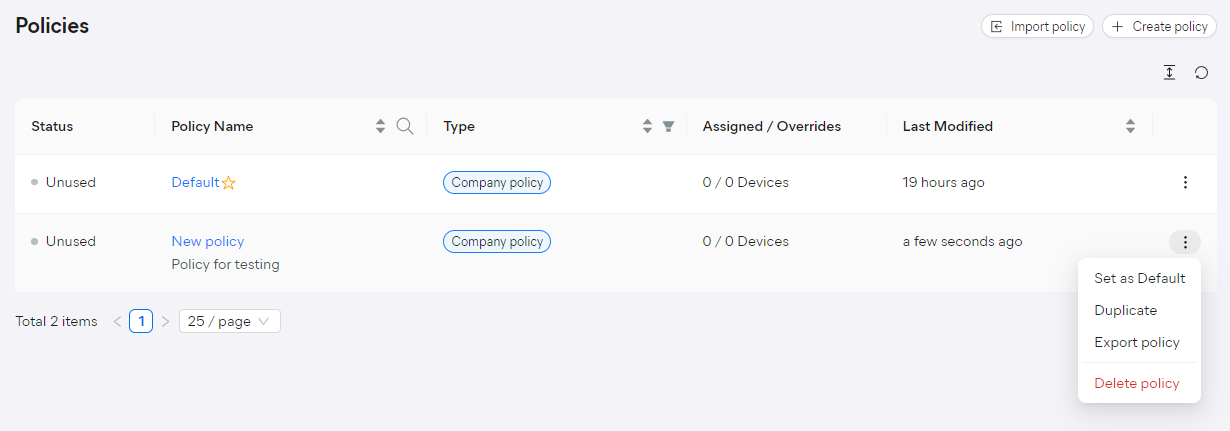
- Confirm the action
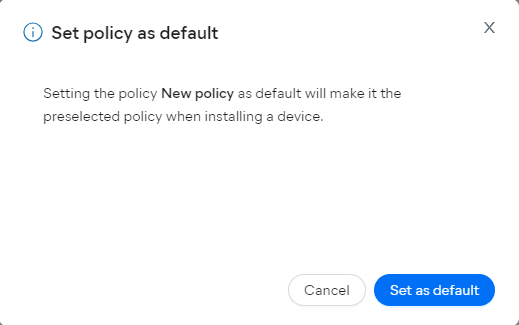
Once the change has been made, the star icon that marks the default policy will now be shown next to the new default policy.

You can also set a policy as default from within its Detail drawer's actions menu (three dots).
Global policies cannot be set as default.
Duplicating Policies
You may wish to duplicate the settings of one policy to only change a few details for a different group of devices
- On the Policies page, click the three dots next to the policy you wish to duplicate
- Select Duplicate policy
- Enter the name for the duplicate, then click Confirm to generate the new policy
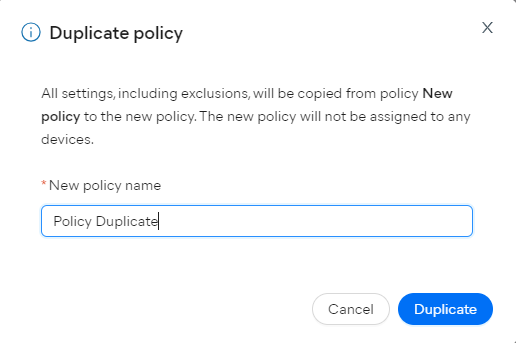
You can also duplicate a policy from within its Detail drawer.

Assigning Policies
Via the Assignments tab of a policy's Detail drawer, you can define which devices
Assigning Site/Company Policies to Devices
To apply a
- On the Policies page
- Go to the Assignments tab of the policy's Detail drawer
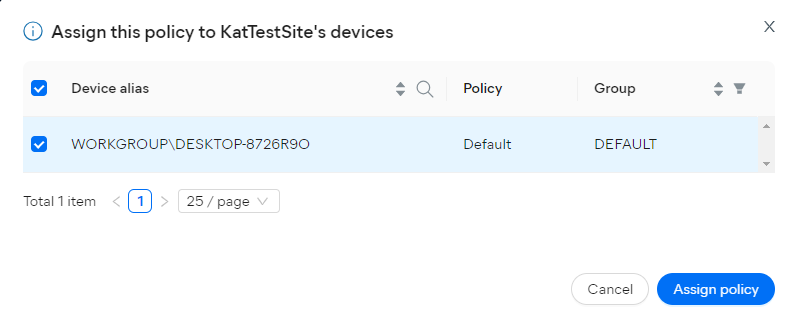
- Click + Assign policy (or Assign Devices if the policy hasn't been assigned to any devices yet)
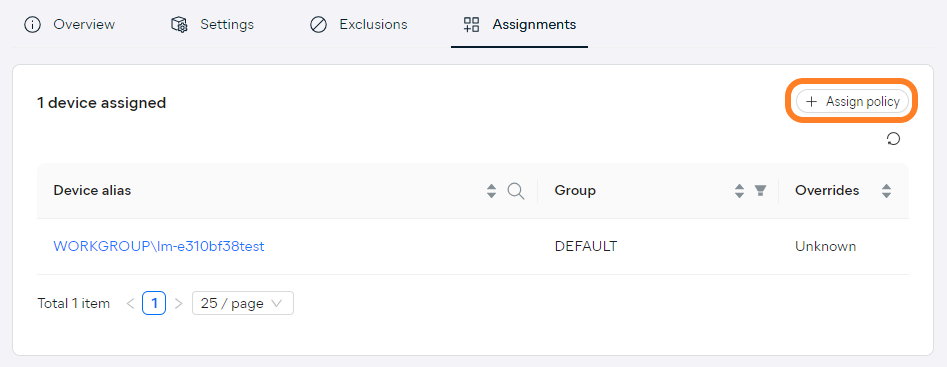
- Select the device(s) you wish to apply the policy to, then click Assign policy
If you wish to change a device's assigned policy, you can do so via the Devices page of the console. For more information, see
Assigning Global Policies to Sites
To apply a global policy to a site or multiple sites at once:
- On the Policies page (top level), click the name of the global policy
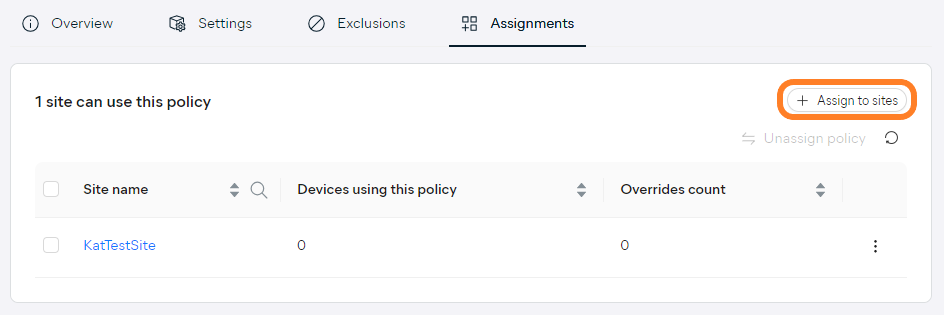
- Go to the Assignments tab of the policy's Detail drawer
- Click + Assign to sites
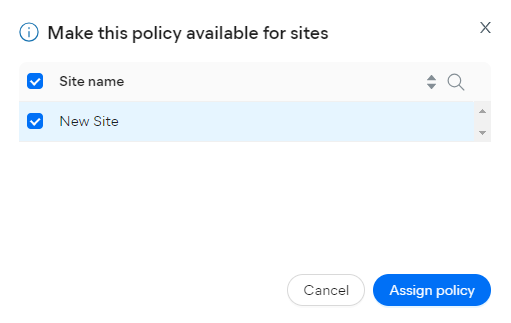
- Select the site(s) you wish to apply the policy to, then click Assign policy
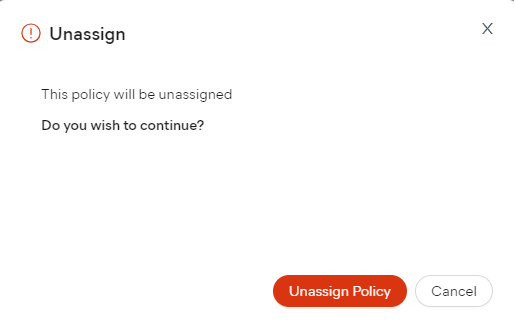
You can also unassign the policy from a site or multiple sites straight from the Assignments tab:
- Select the site(s) you don't want the policy to apply to anymore
- Click Unassign policy in the top right corner
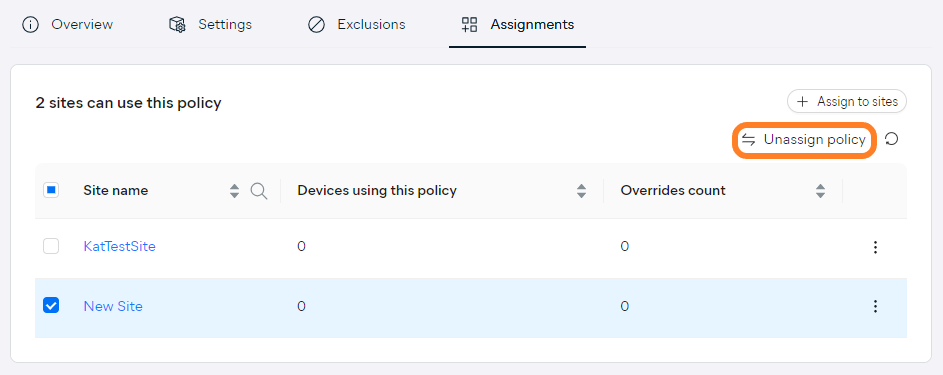
- Confirm your choice
Alternatively, you can unassign the policy from a single site via the site's actions menu.

Deleting Policies
To delete an existing policy:
- On the Policies page, click the three dots next to the policy you wish to delete
- Default policies cannot be deleted. If you need to delete a default policy, first choose another policy to be the default one.
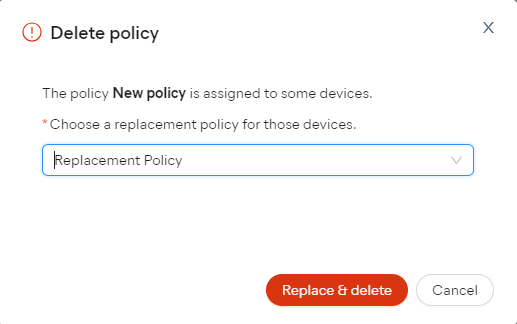
- Select Delete policy
- Confirm the deletion
- If you are deleting a
- If you are deleting a global policy that is assigned to one or more sites, a local (site) copy of the policy will be automatically created for each of those sites. All policy settings and assigned devices will remain as is.
- If you are deleting a
You can also delete a policy from within its Detail drawer's actions menu.
Exporting and Importing Policies
Via the Policies page, you can also export your policies from the Hub and then import them to the same or a different account when needed. For more information and detailed instructions, refer to
Other Articles In This Section:
Recommended Components for Servers and Workstations
Exporting and Importing Policies
Related Articles: