PROXIMANOVA-LIGHT.OTF PROXIMANOVA-LIGHTIT.OTF PROXIMANOVA-EXTRABLD.OTF PROXIMANOVA-BOLD.OTFPROXIMANOVA-BLACK.OTF
Get this font in here!
This Article Applies to:
- Avast Small Business Solutions
- Avast Small Office Protection
Small Business Solutions and Small Office Protection offer four types of scans:
- Mac Scan — Quickly scans the most vulnerable areas of your device
- Deep Scan — Performs an in-depth scan of your system, including checking your storage drives and memory
- Targeted Scan — Scans only the folders you select when you initiate the scan
- External Storage Scan — Scans any removable storage devices connected to your device
Each of these can be individually customized. To configure the types of files and programs to be scanned by Avast, go to Preferences > Scans. From there, access the settings for any of the four scan types by clicking the corresponding tab.
Customizing Mac Scans
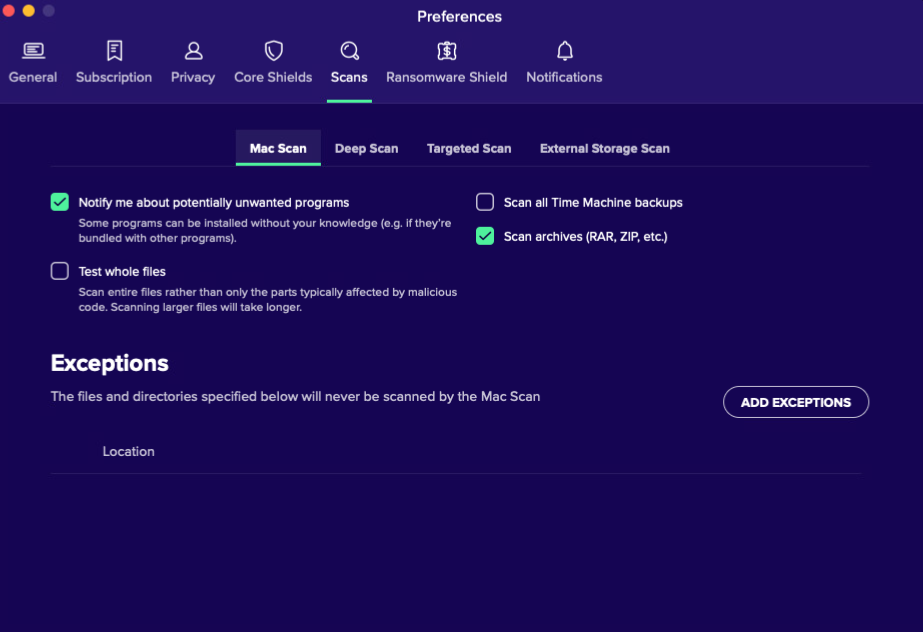
- Notify me about potentially unwanted programs: choose whether Avast notifies you about potentially unwanted programs (PUPs) when they are detected
- Test whole files: enables Avast to scan entire files rather than only the parts typically affected by malicious code
- Scan all Time Machine backups: enables Avast to scan files and folders within your Time Machine (a built-in Mac backup feature)
- Scan archives: scans all archive file contents (note: this may slow down the scan considerably)
To exclude a file or folder from a scan, click Add Exceptions, then select the relevant file/folder and click Open.
Customizing Deep Scans
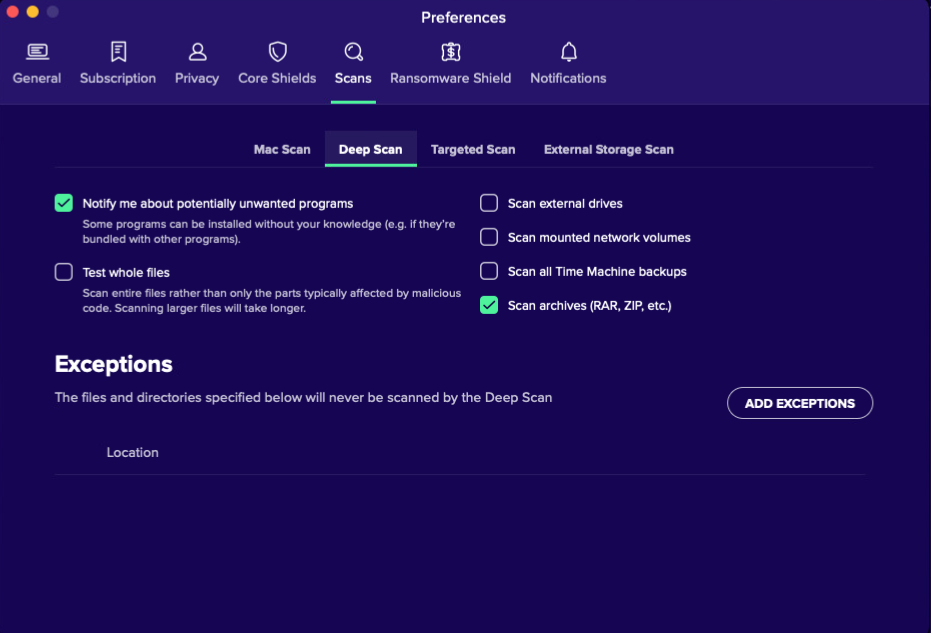
- Notify me about potentially unwanted programs: choose whether Avast notifies you about potentially unwanted programs (PUPs) when they are detected
- Test whole files: enables Avast to scan entire files rather than only the parts typically affected by malicious code
- Scan external drives: enables Avast to scan drives connected to your Mac but not located within the device itself
- Scan mounted network volumes: enables Avast to scan drives located on the same network as your Mac
- Scan all Time Machine backups: enables Avast to scan files and folders within your Time Machine (a built-in Mac backup feature)
- Scan archives: scans all archive file contents (note: this may slow down the scan considerably)
To exclude a file or folder from the scan, click Add Exceptions, then select the relevant file/folder and click Open.
Customizing Targeted Scans

- Notify me about potentially unwanted programs: choose whether Avast notifies you about potentially unwanted programs (PUPs) when they are detected
- Test whole files: enables Avast to scan entire files rather than only the parts typically affected by malicious code
- Scan all Time Machine backups: enables Avast to scan files and folders within your Time Machine (a built-in Mac backup feature)
- Scan archives: scans all archive file contents (note: this may slow down the scan considerably)
To exclude a file or folder from the scan, click Add Exceptions, then select the relevant file/folder and click Open.
Customizing External Storage Scans
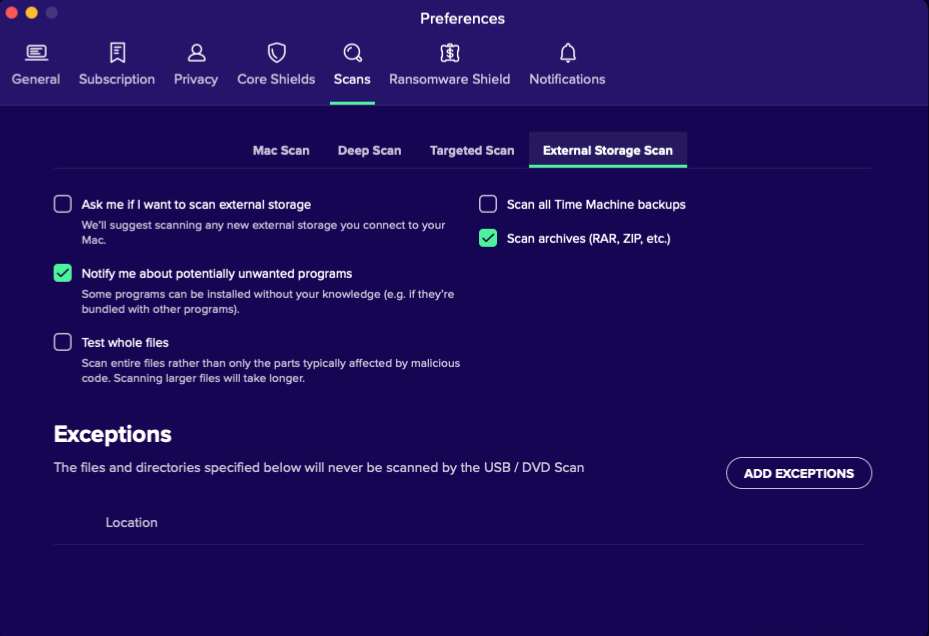
- Ask me if I want to scan external storage: choose whether Avast suggests scanning connected external storage.
- Notify me about potentially unwanted programs: choose whether Avast notifies you about potentially unwanted programs (PUPs) when they are detected
- Test whole files: enables Avast to scan entire files rather than only the parts typically affected by malicious code
- Scan all Time Machine backups: enables Avast to scan files and folders within your Time Machine (a built-in Mac backup feature)
- Scan archives: scans all archive file contents (note: this may slow down the scan considerably)
To exclude a file or folder from the scan, click Add Exceptions, then select the relevant file/folder and click Open.