PROXIMANOVA-LIGHT.OTF PROXIMANOVA-LIGHTIT.OTF PROXIMANOVA-EXTRABLD.OTF PROXIMANOVA-BOLD.OTFPROXIMANOVA-BLACK.OTF
Get this font in here!
This Article Applies to:
- Avast Business Hub
You can enable and configure web, HTTPS, and script scanning for
We do not recommend installing this component on a server OS that is also running Microsoft Exchange. The Exchange and Anti-Spam components handle Exchange-level filtering and will conflict with this component.
Note that in Antivirus for macOS, the shields can only be disabled, not uninstalled. Therefore, if you uninstall Web Guard from a policy, the service on macOS endpoints will only be disabled.
Configuring Web Guard Settings
Windows and macOS configuration options are mixed together in the policy settings for the various components.
To access Web
- Open the Policies page
- Click the desired policy to open its Detail drawer
- Select the Settings tab, then Antivirus
- Expand the Web
The available configuration options are grouped as follows:
- Main settings
- Web scanning
- Actions
- Packers
- Sensitivity
- Site Blocking
- Report file

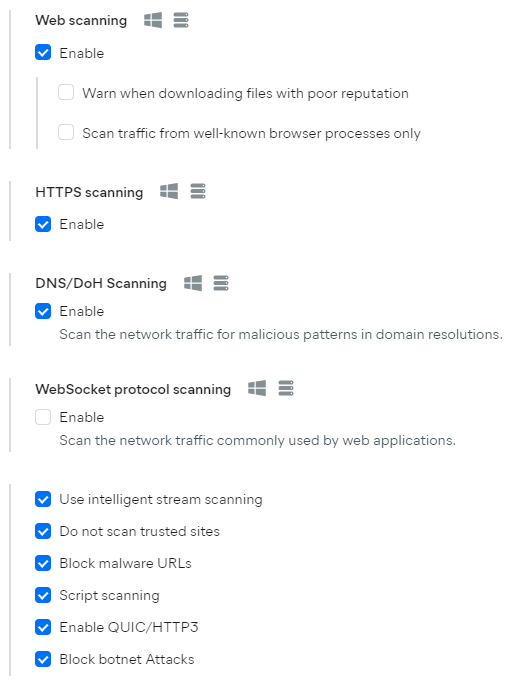
Main Settings
The main Web
-
-
- Enable DNS/DoH scanning: Scans the network for malicious patterns in domain resolutions.
- Enable WebSocket protocol scanning: Scans the network traffic commonly used by web applications.
- Use intelligent stream scanning: Lets Web
- Do not scan trusted sites: Leaves out trusted sites from the scan.
- Block malware URLs: Prevents malicious sites from opening.
- Script scanning: Allows Web
- Enable QUIC/HTTP3: Scans communications sent and received via Google's QUIC protocol.
- Block botnet attacks: Prevents botnets from using the device to attack other computers.
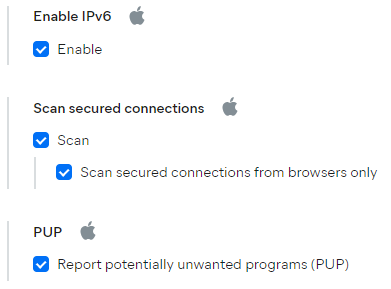
For macOS devices, you can choose whether to:
- Enable IPv6: Scans devices that use IPv6.
- Scan secured connections: Scans sites accessed over secure protocols. You can also choose to only scan secure connections from browsers.
- Report potentially unwanted programs (PUPs): Checks for and notifies about potentially unwanted programs.
Web Scanning
Here, you can configure which items should be scanned when they are downloaded from the web:
- Scan all files: Scans all downloaded files, which may slow down the scan and web browsing considerably. If you select this option, consider excluding trusted websites and/or MIME types from the scan for better performance.
- Scan selected file types only: Scans only files with extensions and/or MIME types that you specify here. All added file types will be displayed here and can be edited or deleted if needed.
You can also prevent Web

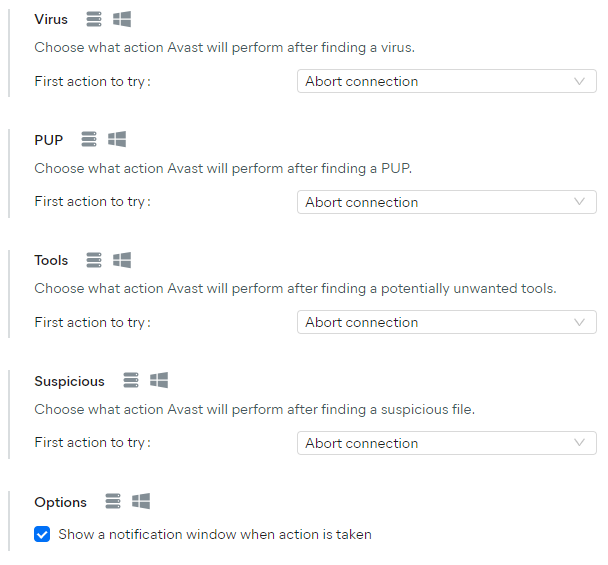
Actions
The Actions settings define how viruses, PUPs,
- Abort connection (default action): Terminates the connection with the applicable website as soon as a potential threat is detected.
- Ask: Gives the option to terminate the connection with the applicable website or remain connected when a potential threat is detected. Remaining connected may be risky.
Under the Options section, you can also choose whether Avast will display a notification each time Web
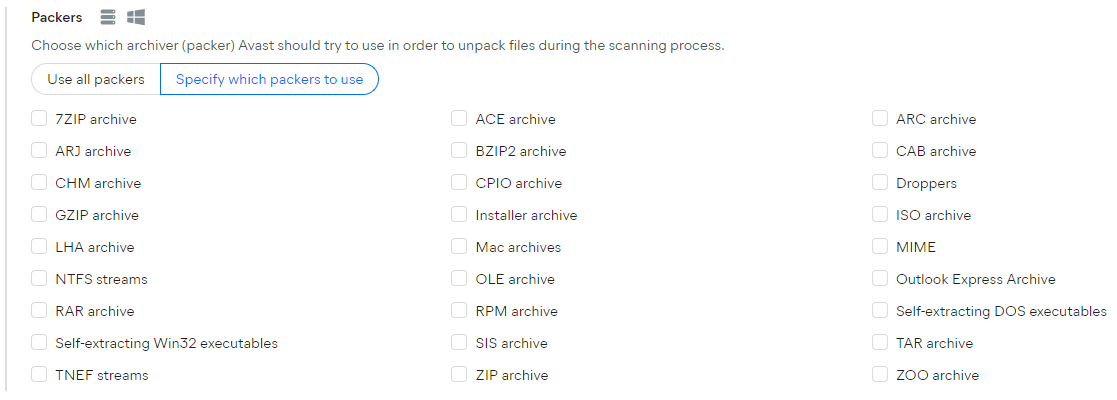
Packers
These settings allow you to define which archive (packer) formats Avast should try to extract during Web
Sensitivity
Here, you can adjust the sensitivity of the shield's scan:
- Heuristics Sensitivity: Heuristics enable the Antivirus to detect unknown malware by analyzing code for commands that may indicate malicious intent. The default setting is Normal. With higher sensitivity, Antivirus is more likely to detect malware, but also more likely to make false-positive detections that incorrectly identify files as malware.
- Use code emulation: Choose whether to use code emulations to unpack and test suspected malware in an emulated environment, where the files cannot cause damage to devices.
- Sensitivity: Enable Test whole files to check the whole content of a file instead of the parts typically affected by malicious code. There is usually no need to enable this option, and it will likely impact system performance.
- PUP and suspicious files: Choose whether or not to scan for potentially unwanted programs (PUPs).

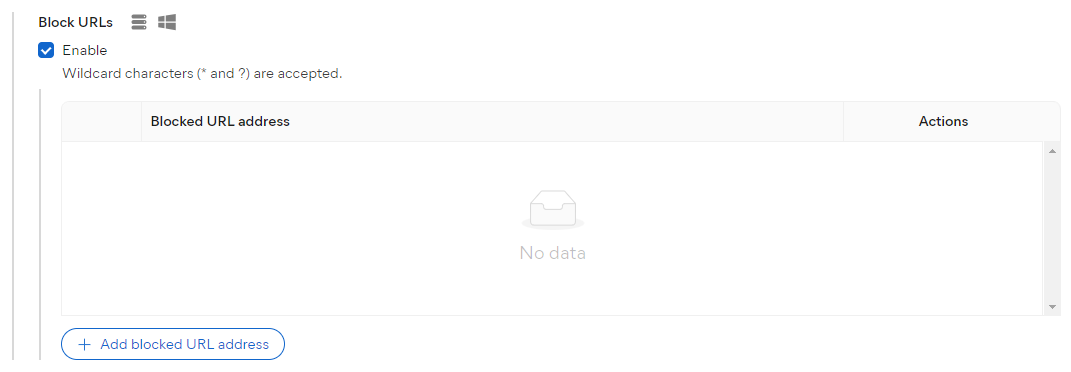
Site Blocking
Here, you can specify any URL addresses that you want Web
To be able to add URLs to the list, the Enable checkbox needs to be ticked.
Wildcards are accepted.
Note that site blocking always overrides the exclusions.
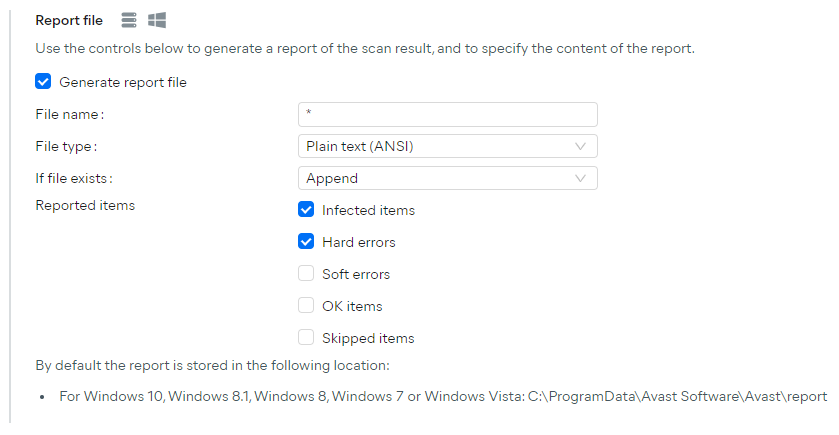
Report File
You can configure the report file here in order to enhance the reporting of the shield:
-
- The Generate report file checkbox needs to be ticked for the report file to be created.
-
- Plain text (ANSI)
- Plain text (Unicode)
- XML
- If file exists: Select Append if you want new results to be added to the end of the previous report, or Overwrite if you want new results to replace the previous report
- Using the Append option will gradually increase the size of the report file on the disk. Including informative events such as OK will also greatly increase the size on the disk as every clean file will be reported.
- Reported items: Define which events appear in report files:
- Infected
- Hard Errors — Unexpected errors that require further investigation
- Soft Errors — Minor errors, such as a file being unable to be scanned because it was in use
- OK
- Skipped
- Infected
At the bottom of the settings, the default location of the report is displayed.
Adding Web Guard Exclusions
If needed, you can add exclusions to the shield's scans through the Antivirus Exclusions settings of a selected policy. This can speed up the scans and prevent false-positive detections.

For more information on standard and component-specific exclusions, see
FAQ
 How do I stop the user from disabling the Web
macOS: The administrator password is required to disable the shield. The antivirus UI cannot be password-protected at this time.
Application/site is not able to run/communicate with Web Add the URL/IP address the application/site is connecting to as an exclusion in the Web
Can I disable the VPN configuration in macOS? Is it a VPN?
No, it cannot be disabled, unless the user disables the Mail Shield (and Web
Why are the Core Shields actions values blank, usually in managed devices?
The local Antivirus is simplified with its controls in the UI. The user can only control all shield settings from these toggles at once, rather than individual settings for each shield.
We have the advanced controls in our managed policies to be able to configure each shield individually, which overwrites the local client settings, leading to these options being empty.
They are still configured correctly, they simply are not visible in the local client UI.
Why can't I disable Web The managed endpoints are designed to be controlled from the policies, therefore the important shields are inaccessible from the UI to be disabled individually. Core Shields can only be disabled together.
Why does a webpage have an invalid certificate that is signed by Avast?
Usually this indicates the underlying certificate of the website has the issue, rather than our certificate having a problem. Disabling Web
Why is my high speed connection slower with Web High speed connections greater than 20Mbits/s may see noticeable delays under certain conditions while Web
Are there specific devices that have compatibility issues with Web Some network components or connection types may be incompatible with a parts of Avast Antivirus or Web
Avast monitors reports regarding specific devices and contacts device vendors about frequent issues with proposed coding solutions or workarounds. However, many issues are related to specific settings within Web
Can I block sites with Web No, this is not a supported scenario. For example, if you block all sites, or all TLD, for .co.uk, you cannot then allow specific sites within that blocked list/with the .co.uk domain. Site blocking always overrides the exceptions.