PROXIMANOVA-LIGHT.OTF PROXIMANOVA-LIGHTIT.OTF PROXIMANOVA-EXTRABLD.OTF PROXIMANOVA-BOLD.OTFPROXIMANOVA-BLACK.OTF
Get this font in here!
This Article Applies to:
- Avast Business On-Premise Console
Avast Firewall is another major component of Antivirus protection offered alongside Core Shields, and it is available for Windows workstations. Our Firewall monitors all network traffic between devices and the outside world to help protect you from unauthorized communication and intrusions.
The two profiles you can assign to defined and undefined networks are:
- Private (Trusted): Provides a lower level of security (the device will be visible to other devices on that network)
- Public (Not trusted): Provides a higher level of security (the device will be hidden from other devices on that network)
We recommend applying the Public profile to all networks that are not your private network, such as when you connect to the internet in a café or at an airport.
Network profiles are one of the rule-matching attributes, meaning rules for trusted profiles are not active when connected to a network classified as untrusted and vice versa. Rules can be set to apply to either one profile or both.
To access Firewall network settings:
- Go to the Policies page
- Open the desired policy
- Select Windows Workstation, then navigate to the Active protection tab
- Click Customize next to Firewall
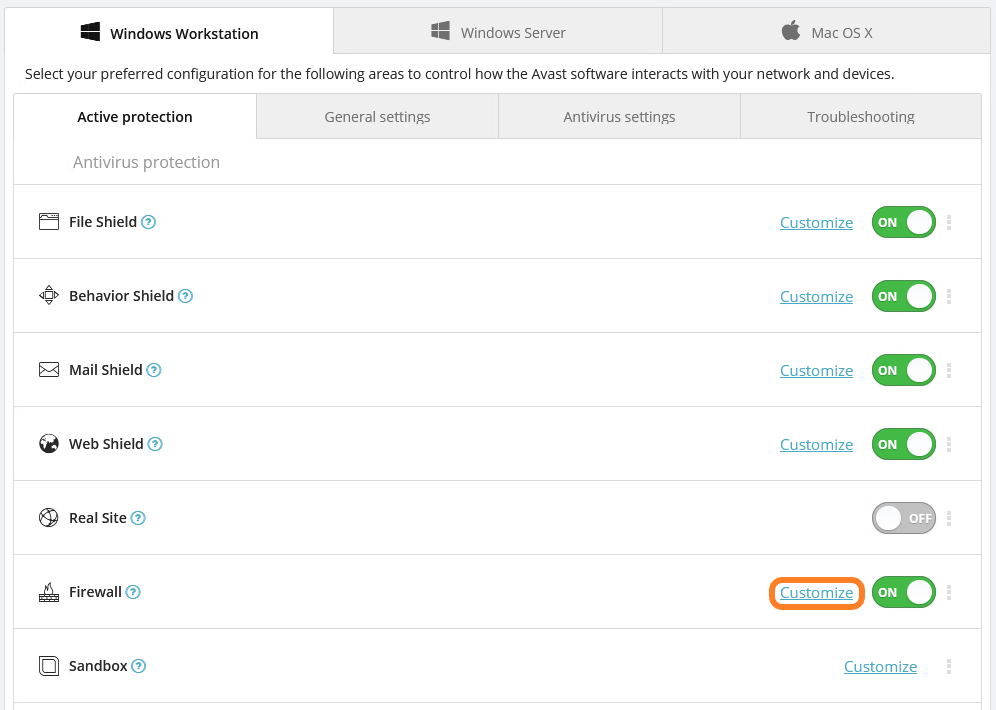
- Select the Networks tab
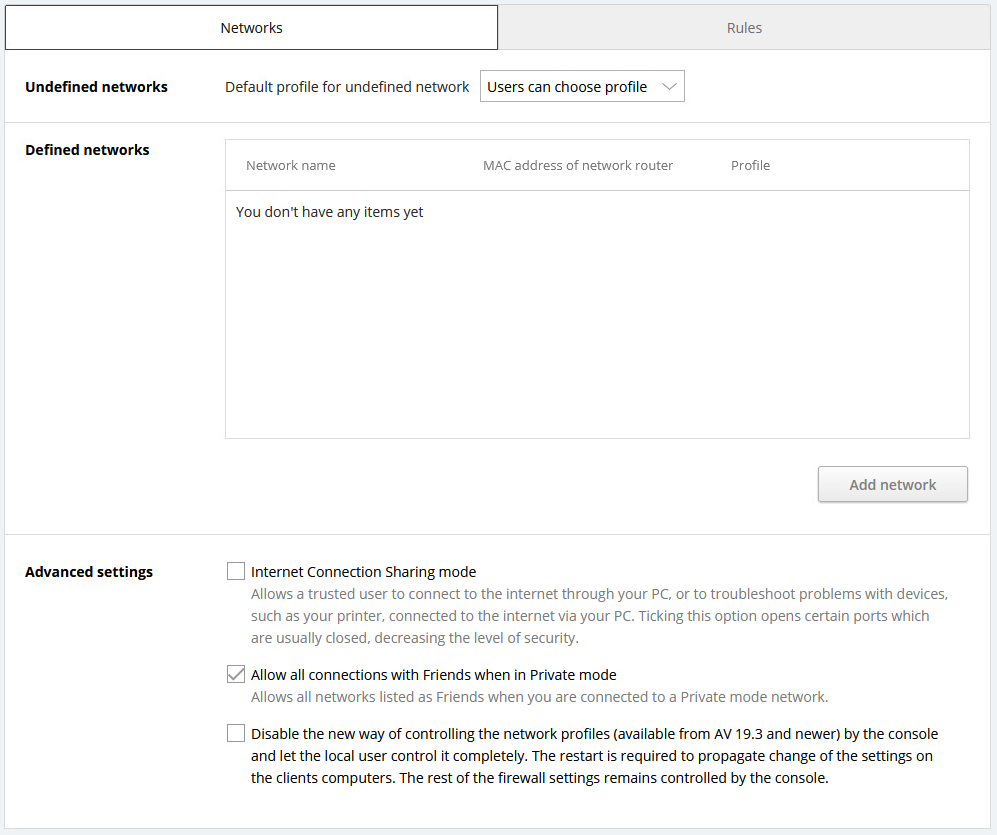
Configuring Network Settings
The following settings can be configured here:
- Undefined networks: Automatically applies the profile you set here as default to undefined networks. There is an additional possibility to let the users choose the profile instead.
- Defined networks: Allows you to determine the default profile for each network you add to the list of defined networks (see section below).
- Advanced settings:
- Internet Connection Sharing mode: When enabled, this option allows other devices in the network to share the device's internet connection. This must first be configured in the device's Windows network connection settings. Note that this opens additional ports, which could be a security concern.
- Allow all connections with Friends when in Private mode: This option will allow all networks defined as Friends when the end device is connected to a trusted network.
- Disable the new way of controlling the network profiles by the console: When enabled, this setting gives the end user control over choosing the network profiles. Note that this could be a security concern, particularly if the end user tends to travel and uses many public networks. Also note that enabling/disabling this option requires rebooting the devices under the policy you are modifying.
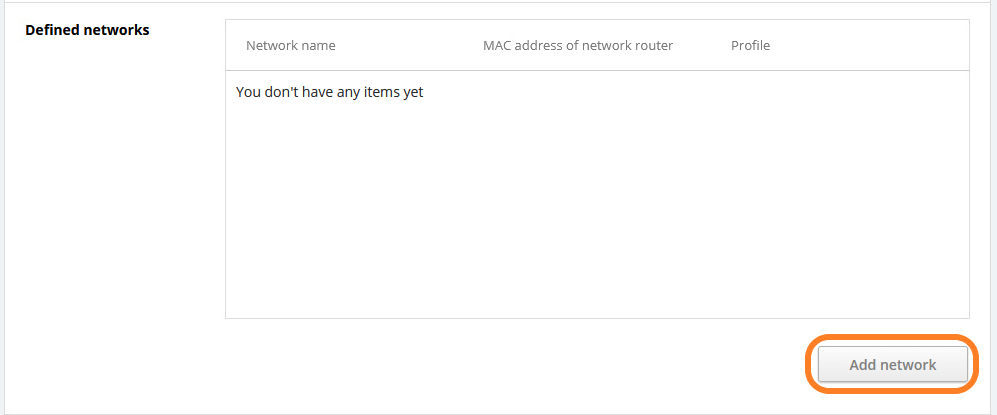
Adding Defined Networks
To manually define profiles of various networks, ensuring they are always configured as Public or Private:
- In the Defined networks section of Network settings, click the Add network button
- Enter the network name and its router's MAC address, then choose the desired network profile
- Click Add
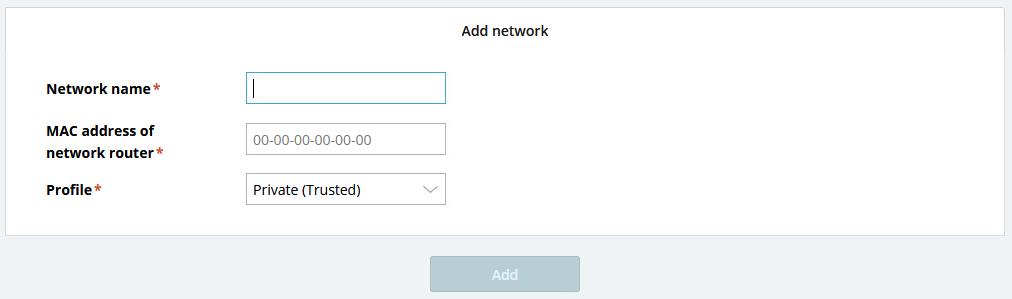
The defined network will then be added to the Defined networks list. Clicking it will enable you to edit the network's details if needed.
Deleting previously added defined networks is not possible in On-Premise Console, only in Business Hub.

Other Articles In This Section:
Firewall Advanced Packet Rules
Related Articles: