PROXIMANOVA-LIGHT.OTF PROXIMANOVA-LIGHTIT.OTF PROXIMANOVA-EXTRABLD.OTF PROXIMANOVA-BOLD.OTFPROXIMANOVA-BLACK.OTF
Get this font in here!
This Article Applies to:
- Avast Small Business Solutions
- Avast Small Office Protection
- Avast Business Antivirus
- Avast Business Antivirus Pro
- Avast Business Antivirus Pro Plus
- Avast Business CloudCare Antivirus
To create a
- From the main UI screen,
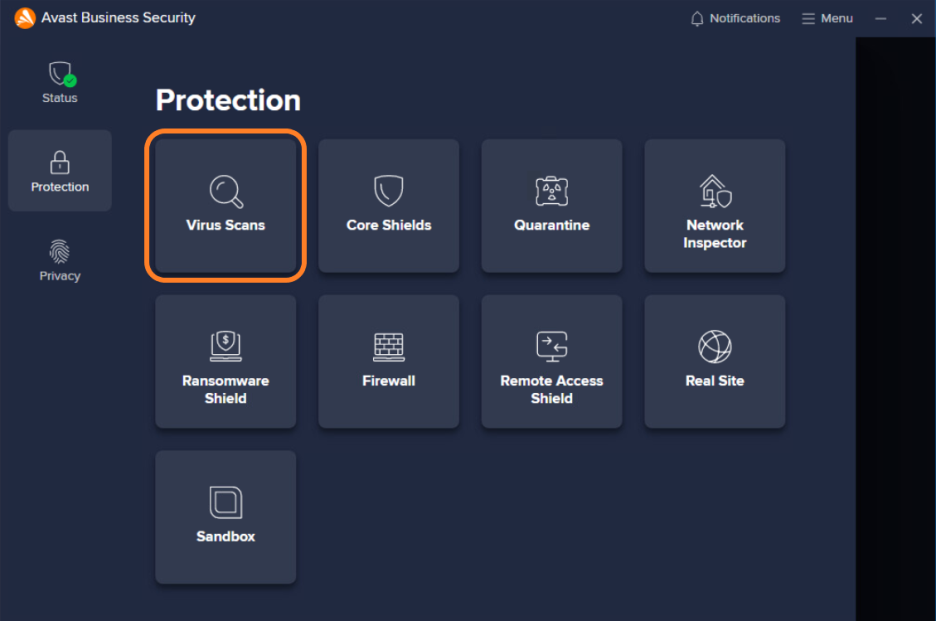
- Select Custom scans

- On the
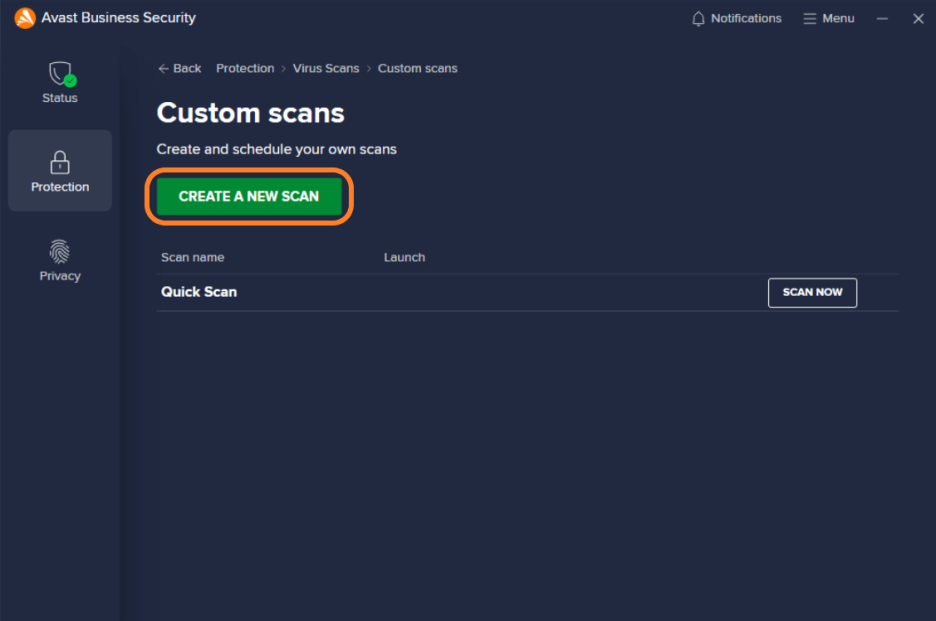
- Type in the name of the scan

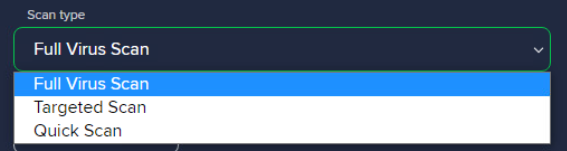
- Select the type of scan:
- Quick Scan
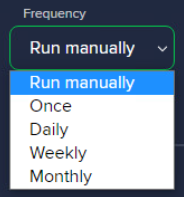
- Define the scan's frequency:
- Run manually
- Once (choose exact date and time)
- Daily (choose time)
- Weekly (choose day of the week and time)
- Monthly (choose day of the month and time)
- Configure the scan's parameters and additional settings (see Customization Options below for more information)
- Click Create
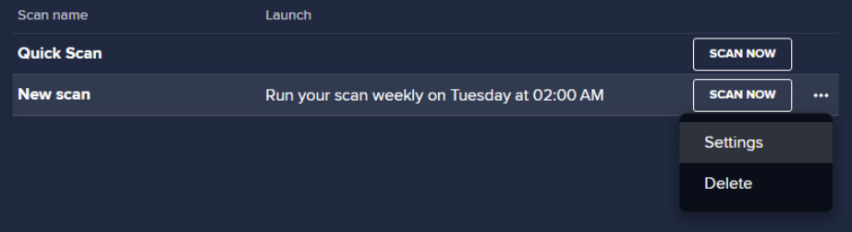
The newly created scan will appear on the
Customization Options
The following settings can be configured for custom scans:
- Sensitivity: You can determine the sensitivity of the scan by adjusting the scan sensitivity settings. The higher the sensitivity, the higher the protection (but also the potential for false positive malware detections). Reducing the sensitivity reduces the chance of false positive detections, but may also reduce the effectiveness of the scans. Scan sensitivity can be adjusted to high, medium, or low by dragging the slider.

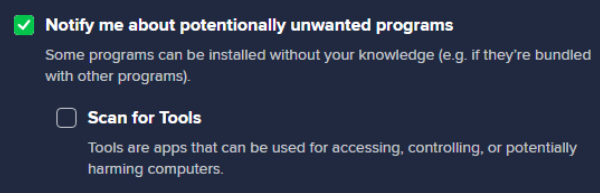
- Notify me about potentially unwanted programs (PUPs): Enables Avast to scan for programs that are stealthily downloaded with other programs and can perform unwanted activity.
- Scan for Tools: An additional option to scan apps that can be used for accessing, controlling, or potentially harming computers.
- Follow file-system links during scan: Enables Avast to scan other files used by the files being scanned for potentially harmful content.

- Test whole files: Enables Avast to scan entire files rather than only the parts typically affected by malicious code (the process will take longer for larger files).

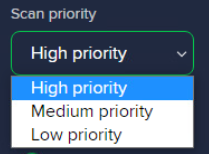
- Scan priority: Determines how many resources can be utilized by Avast during the scan (higher priority means a faster scan, but may slow down other processes on the device). Via the drop-down menu, you can choose between high, medium, and low priority.
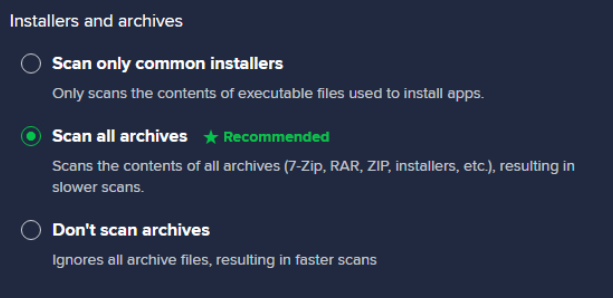
- Installers and archives: Specify the compressed file types that you want Avast to unpack during the scan:
- Scan only common installers (recommended): Scans archive types most commonly used for storing purposes, such as
.zip,.rar, and other executable or installer files. - Scan all archives: Scans all archive types. This option is more thorough, but is much slower.
- Don't scan archives: Prevents Avast from scanning archive files, which provides a faster scan.
- Scan only common installers (recommended): Scans archive types most commonly used for storing purposes, such as
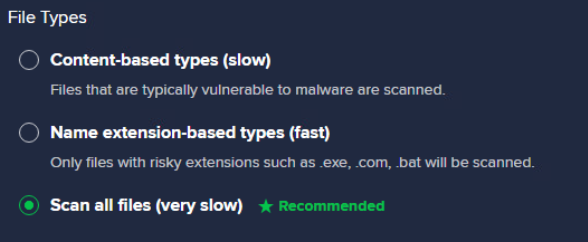
- File Types: Specify file types that are scanned:
- Content-based types (recommended): Scans files that are typically most vulnerable to malware attacks.
- Name extension-based types: Scans files with risky extensions only (such as
.exe,.com,.bat). This is the fastest scan configuration. - Scan all files: Scans all files on your PC for malware. This is the slowest scan configuration.
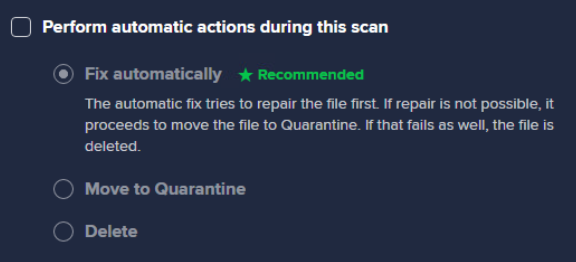
- Perform automatic actions during this scan: This section allows you to enable and configure automatic responses to any threats detected by the scan:
- Fix automatically (recommended): Enables Avast to repair the infected file. If repair is not possible, the file is quarantined and, if that fails, the file is deleted.
- Move to Quarantine: The infected file will not be repaired automatically, but will be quarantined.
- Delete: Avast will not try to repair the infected file or quarantine it; instead, the file will be immediately deleted.
- Shut down computer after scan finishes: Enables Avast to shut down the computer immediately after the scan completes.

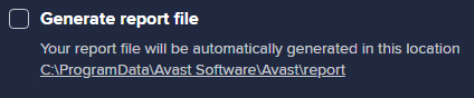
- Generate report file: Enables Avast to create a report file automatically and store it in
C:\ProgramData\Avast Software\Avast\report. This file is sometimes requested by Avast support for troubleshooting purposes.
Configuring Exceptions
Although it is not recommended to exclude any files or folders from a scan, you can define certain exceptions to temporarily exclude particular files or folders from a scan for troubleshooting purposes. For detailed instructions, see